 Patch
Patch
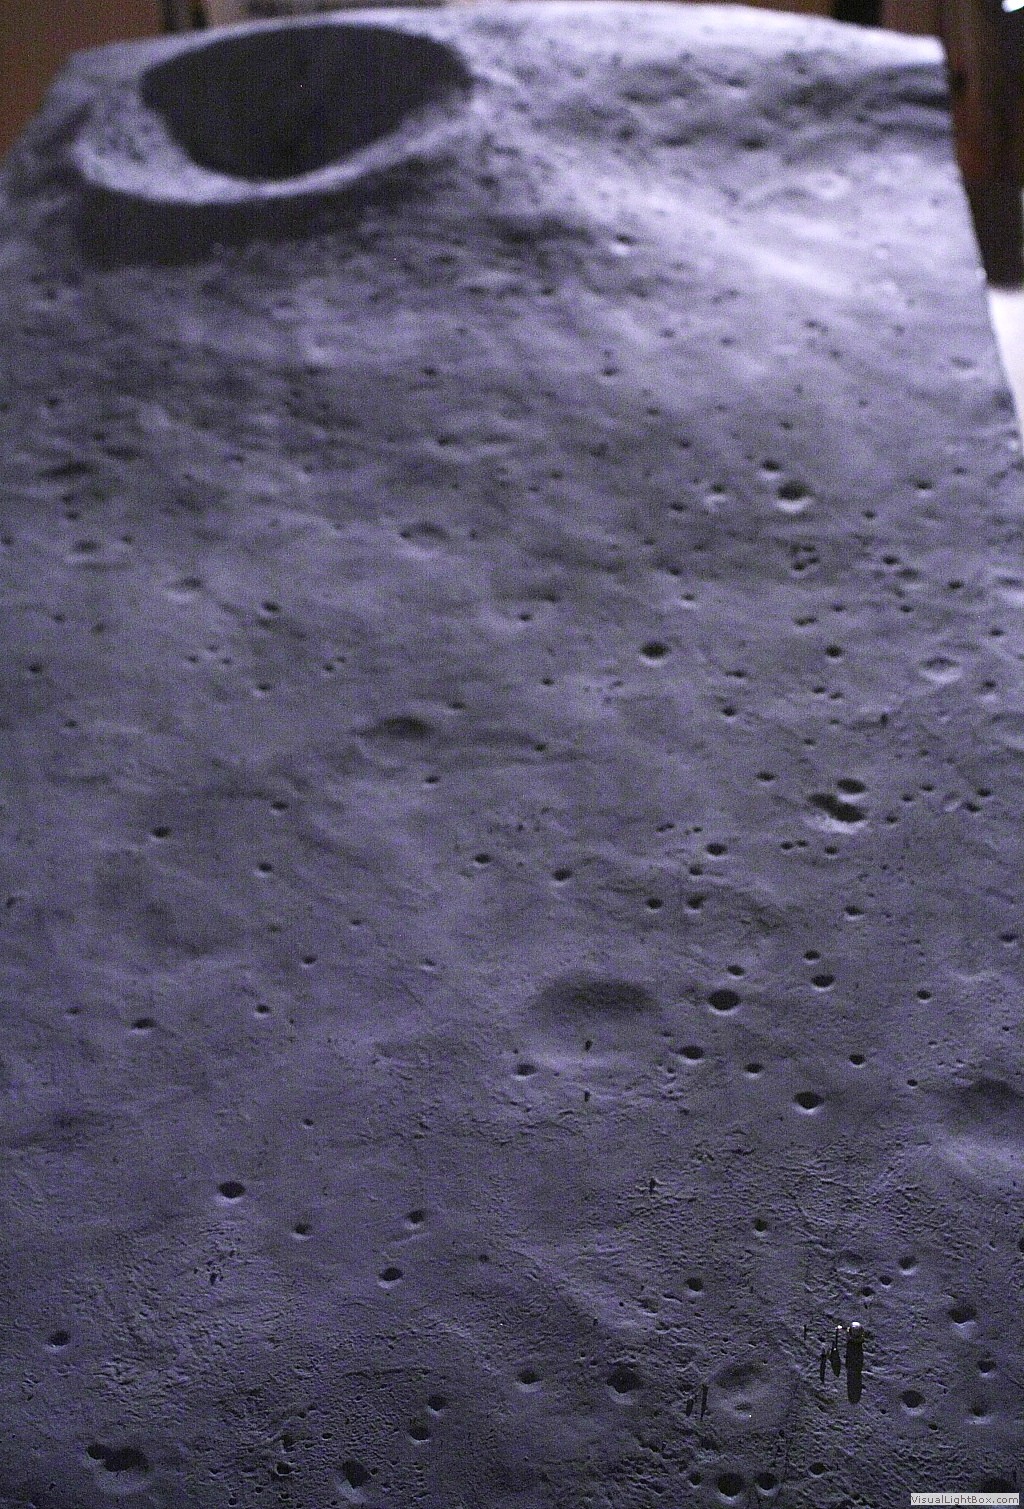
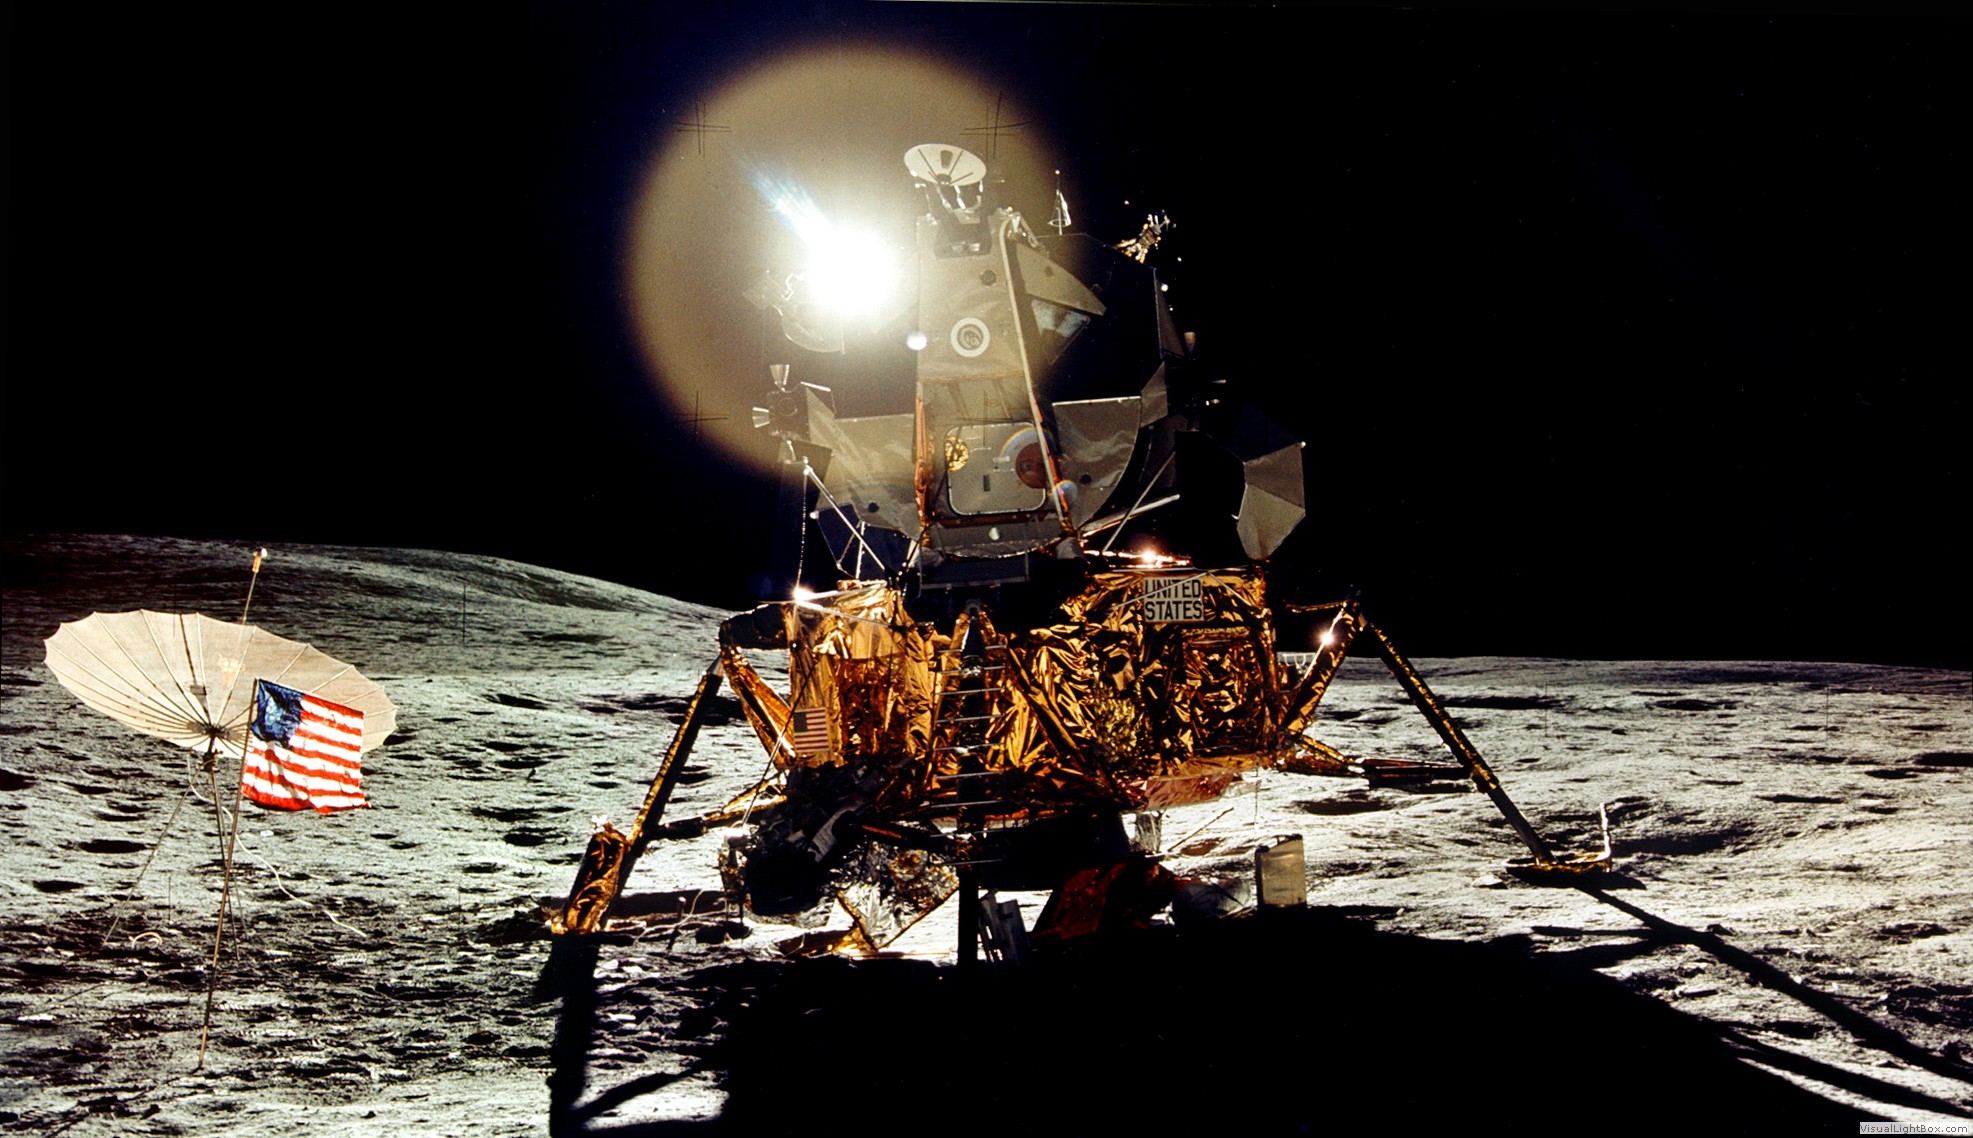
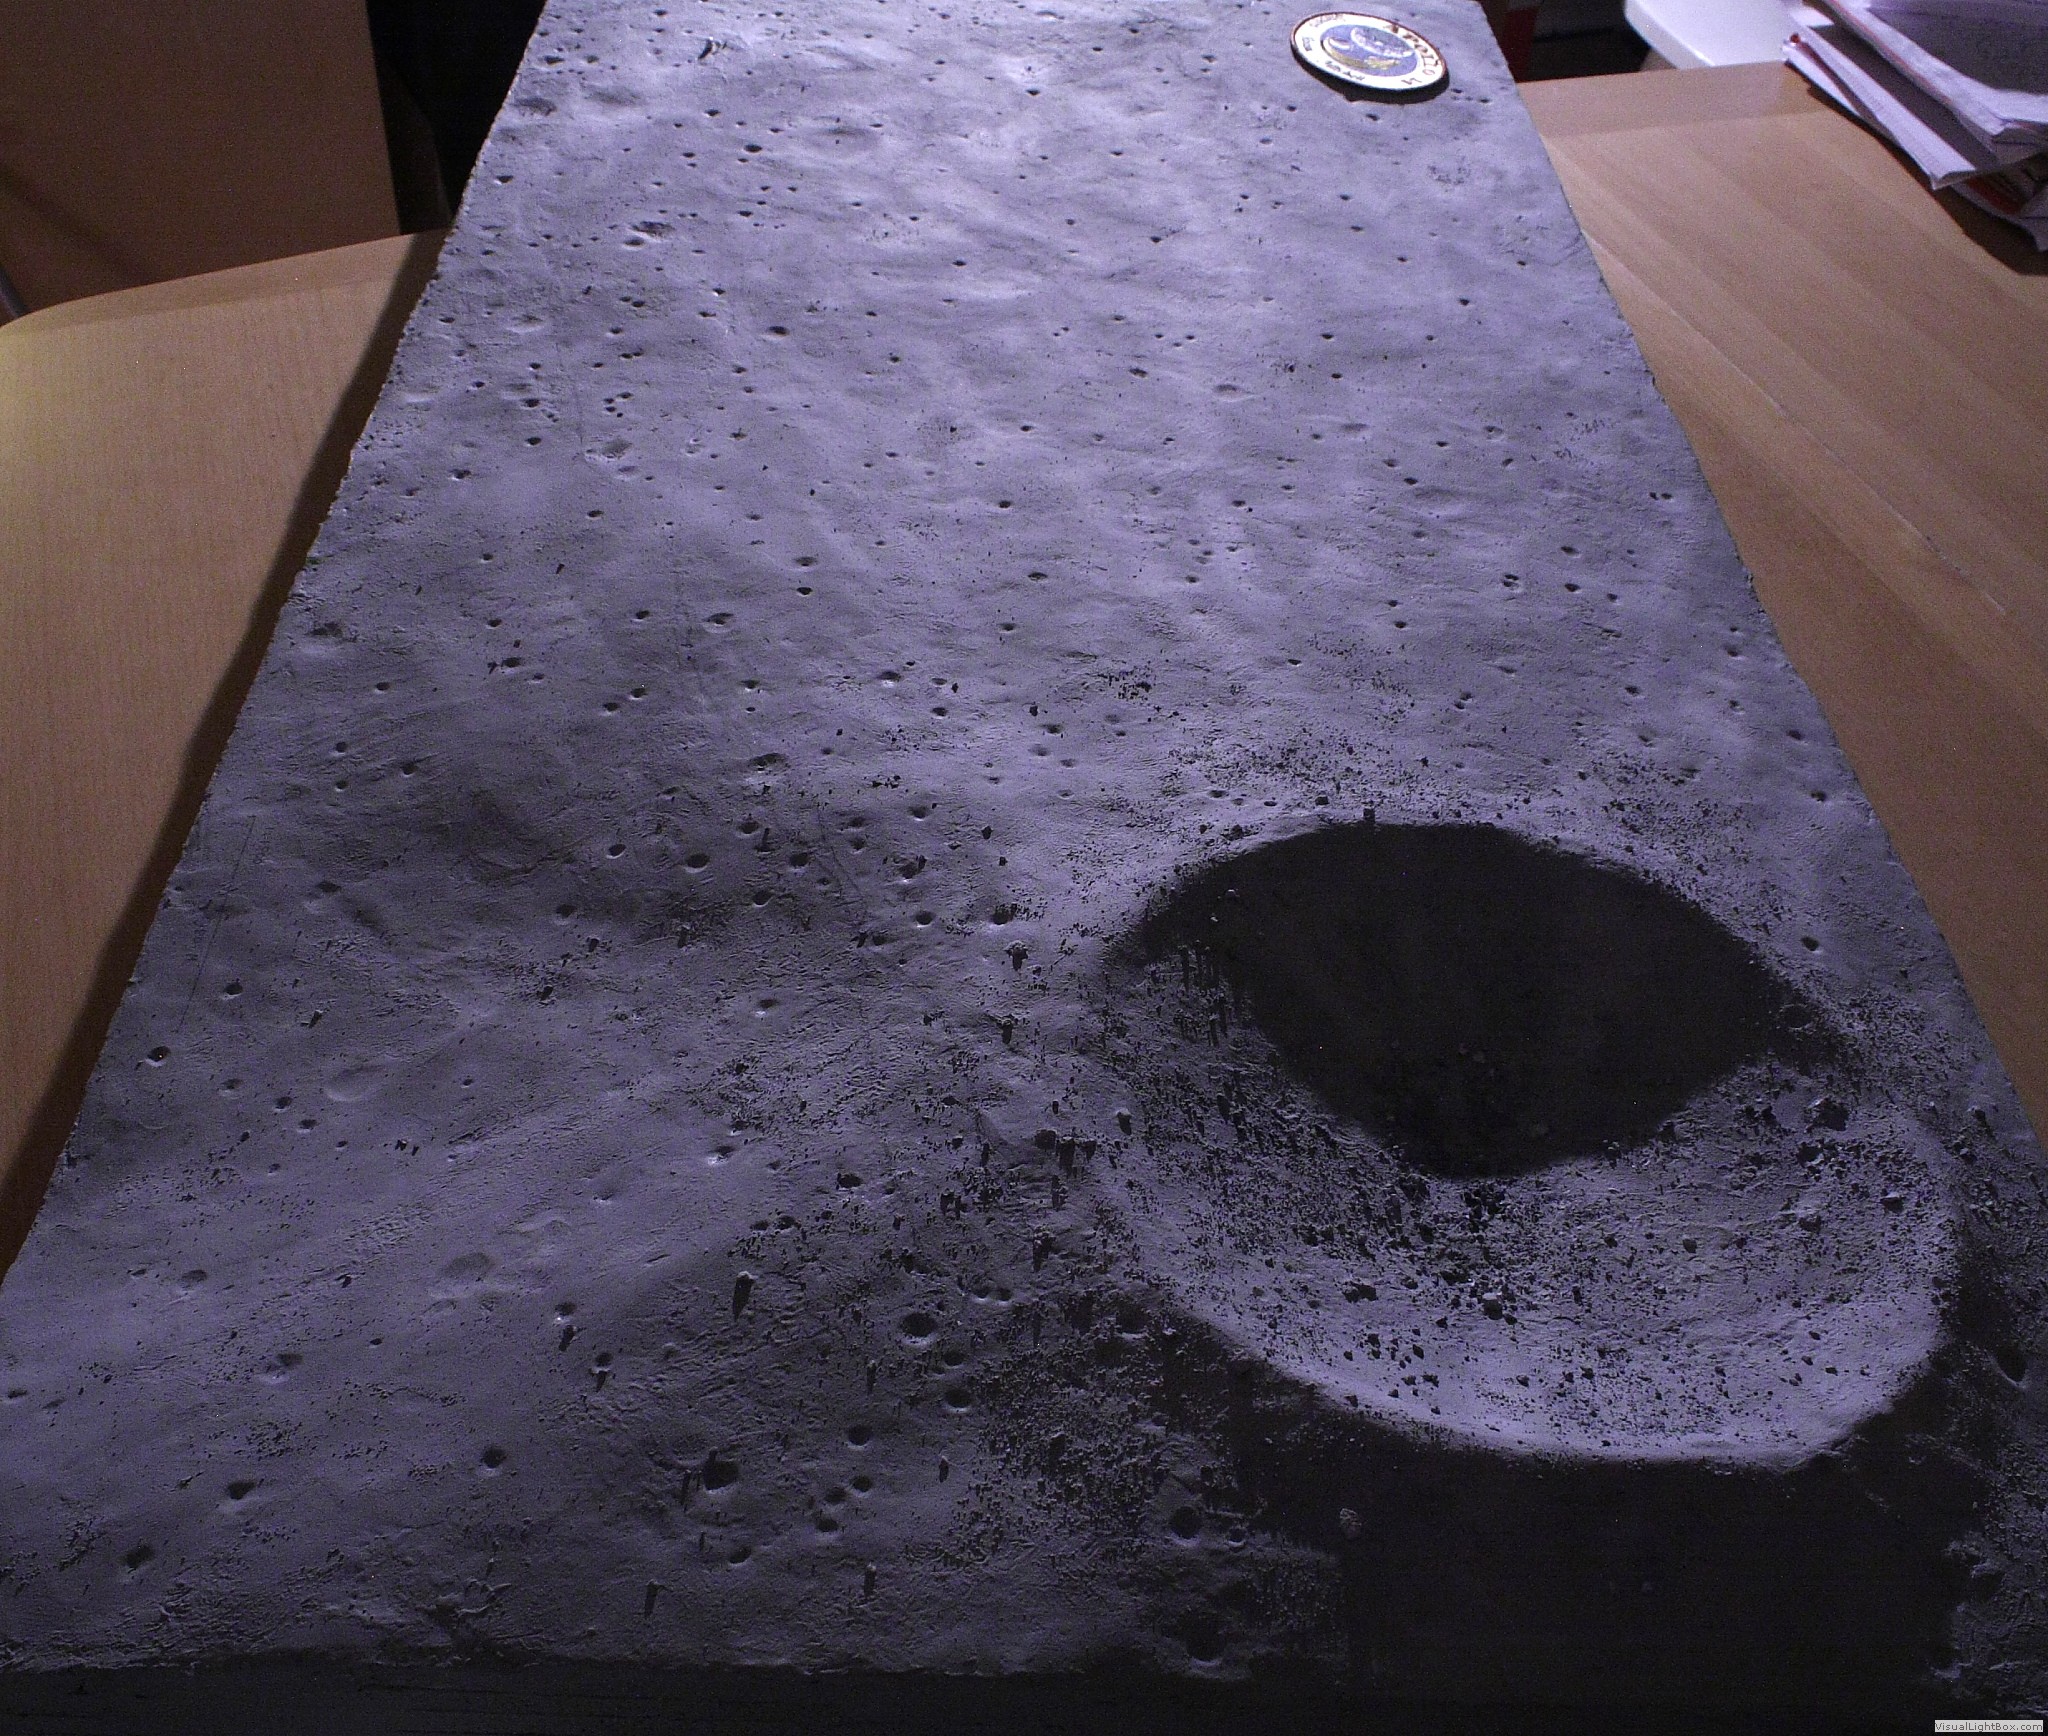
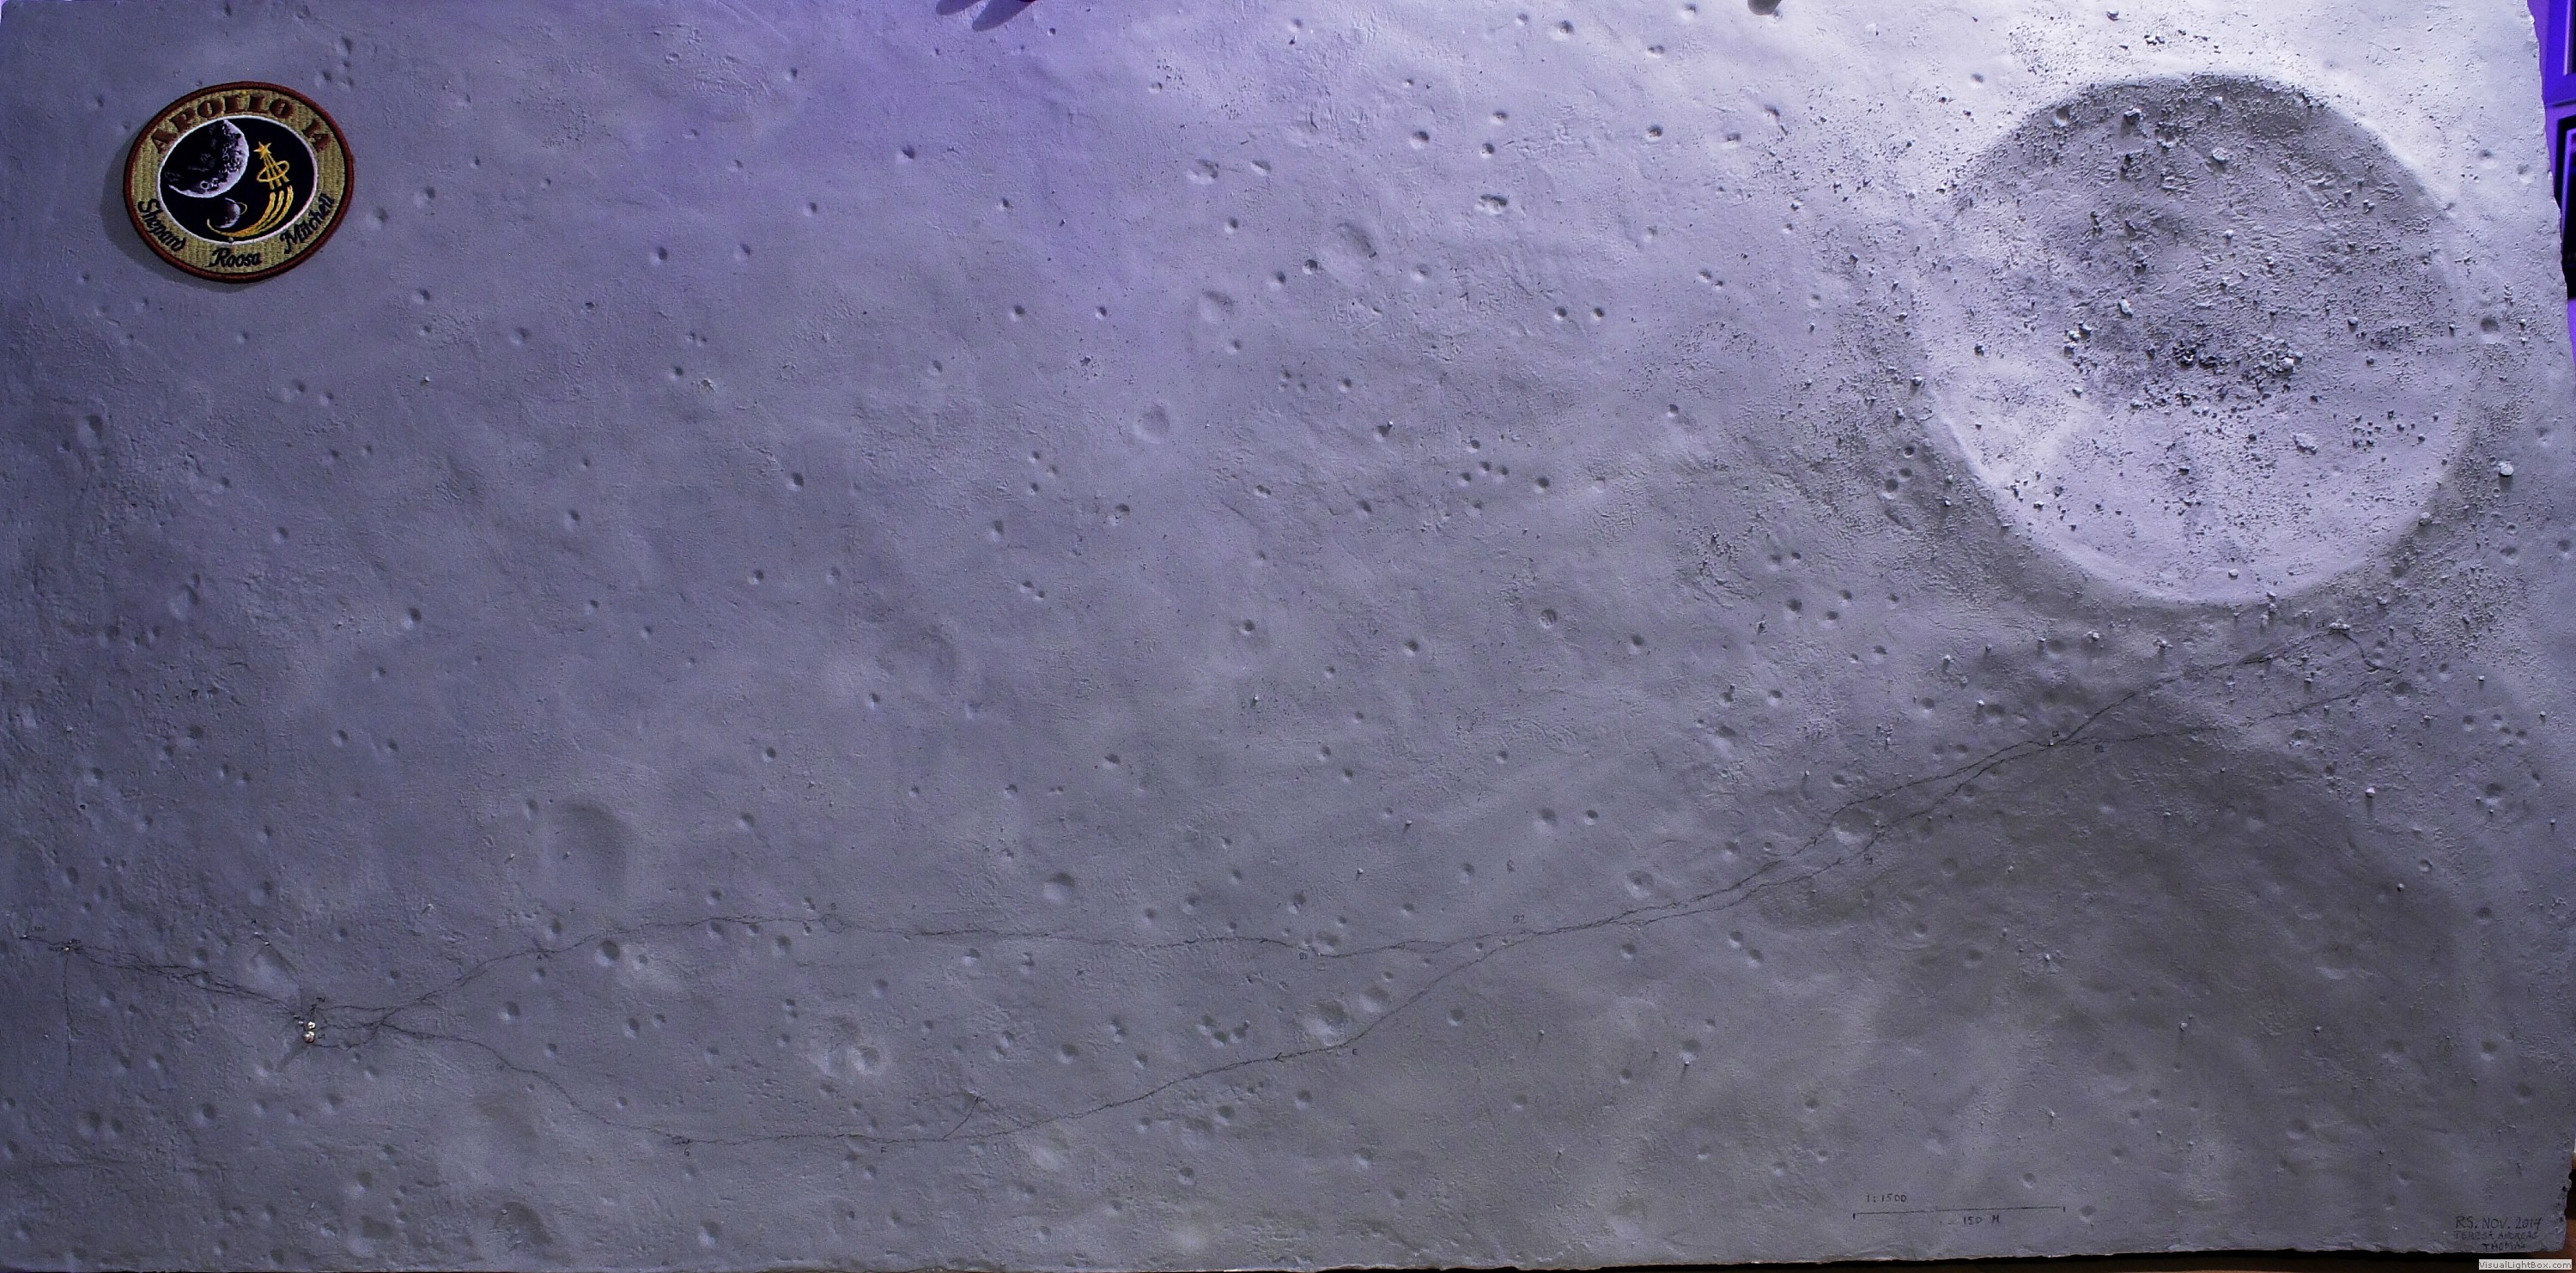 Full model
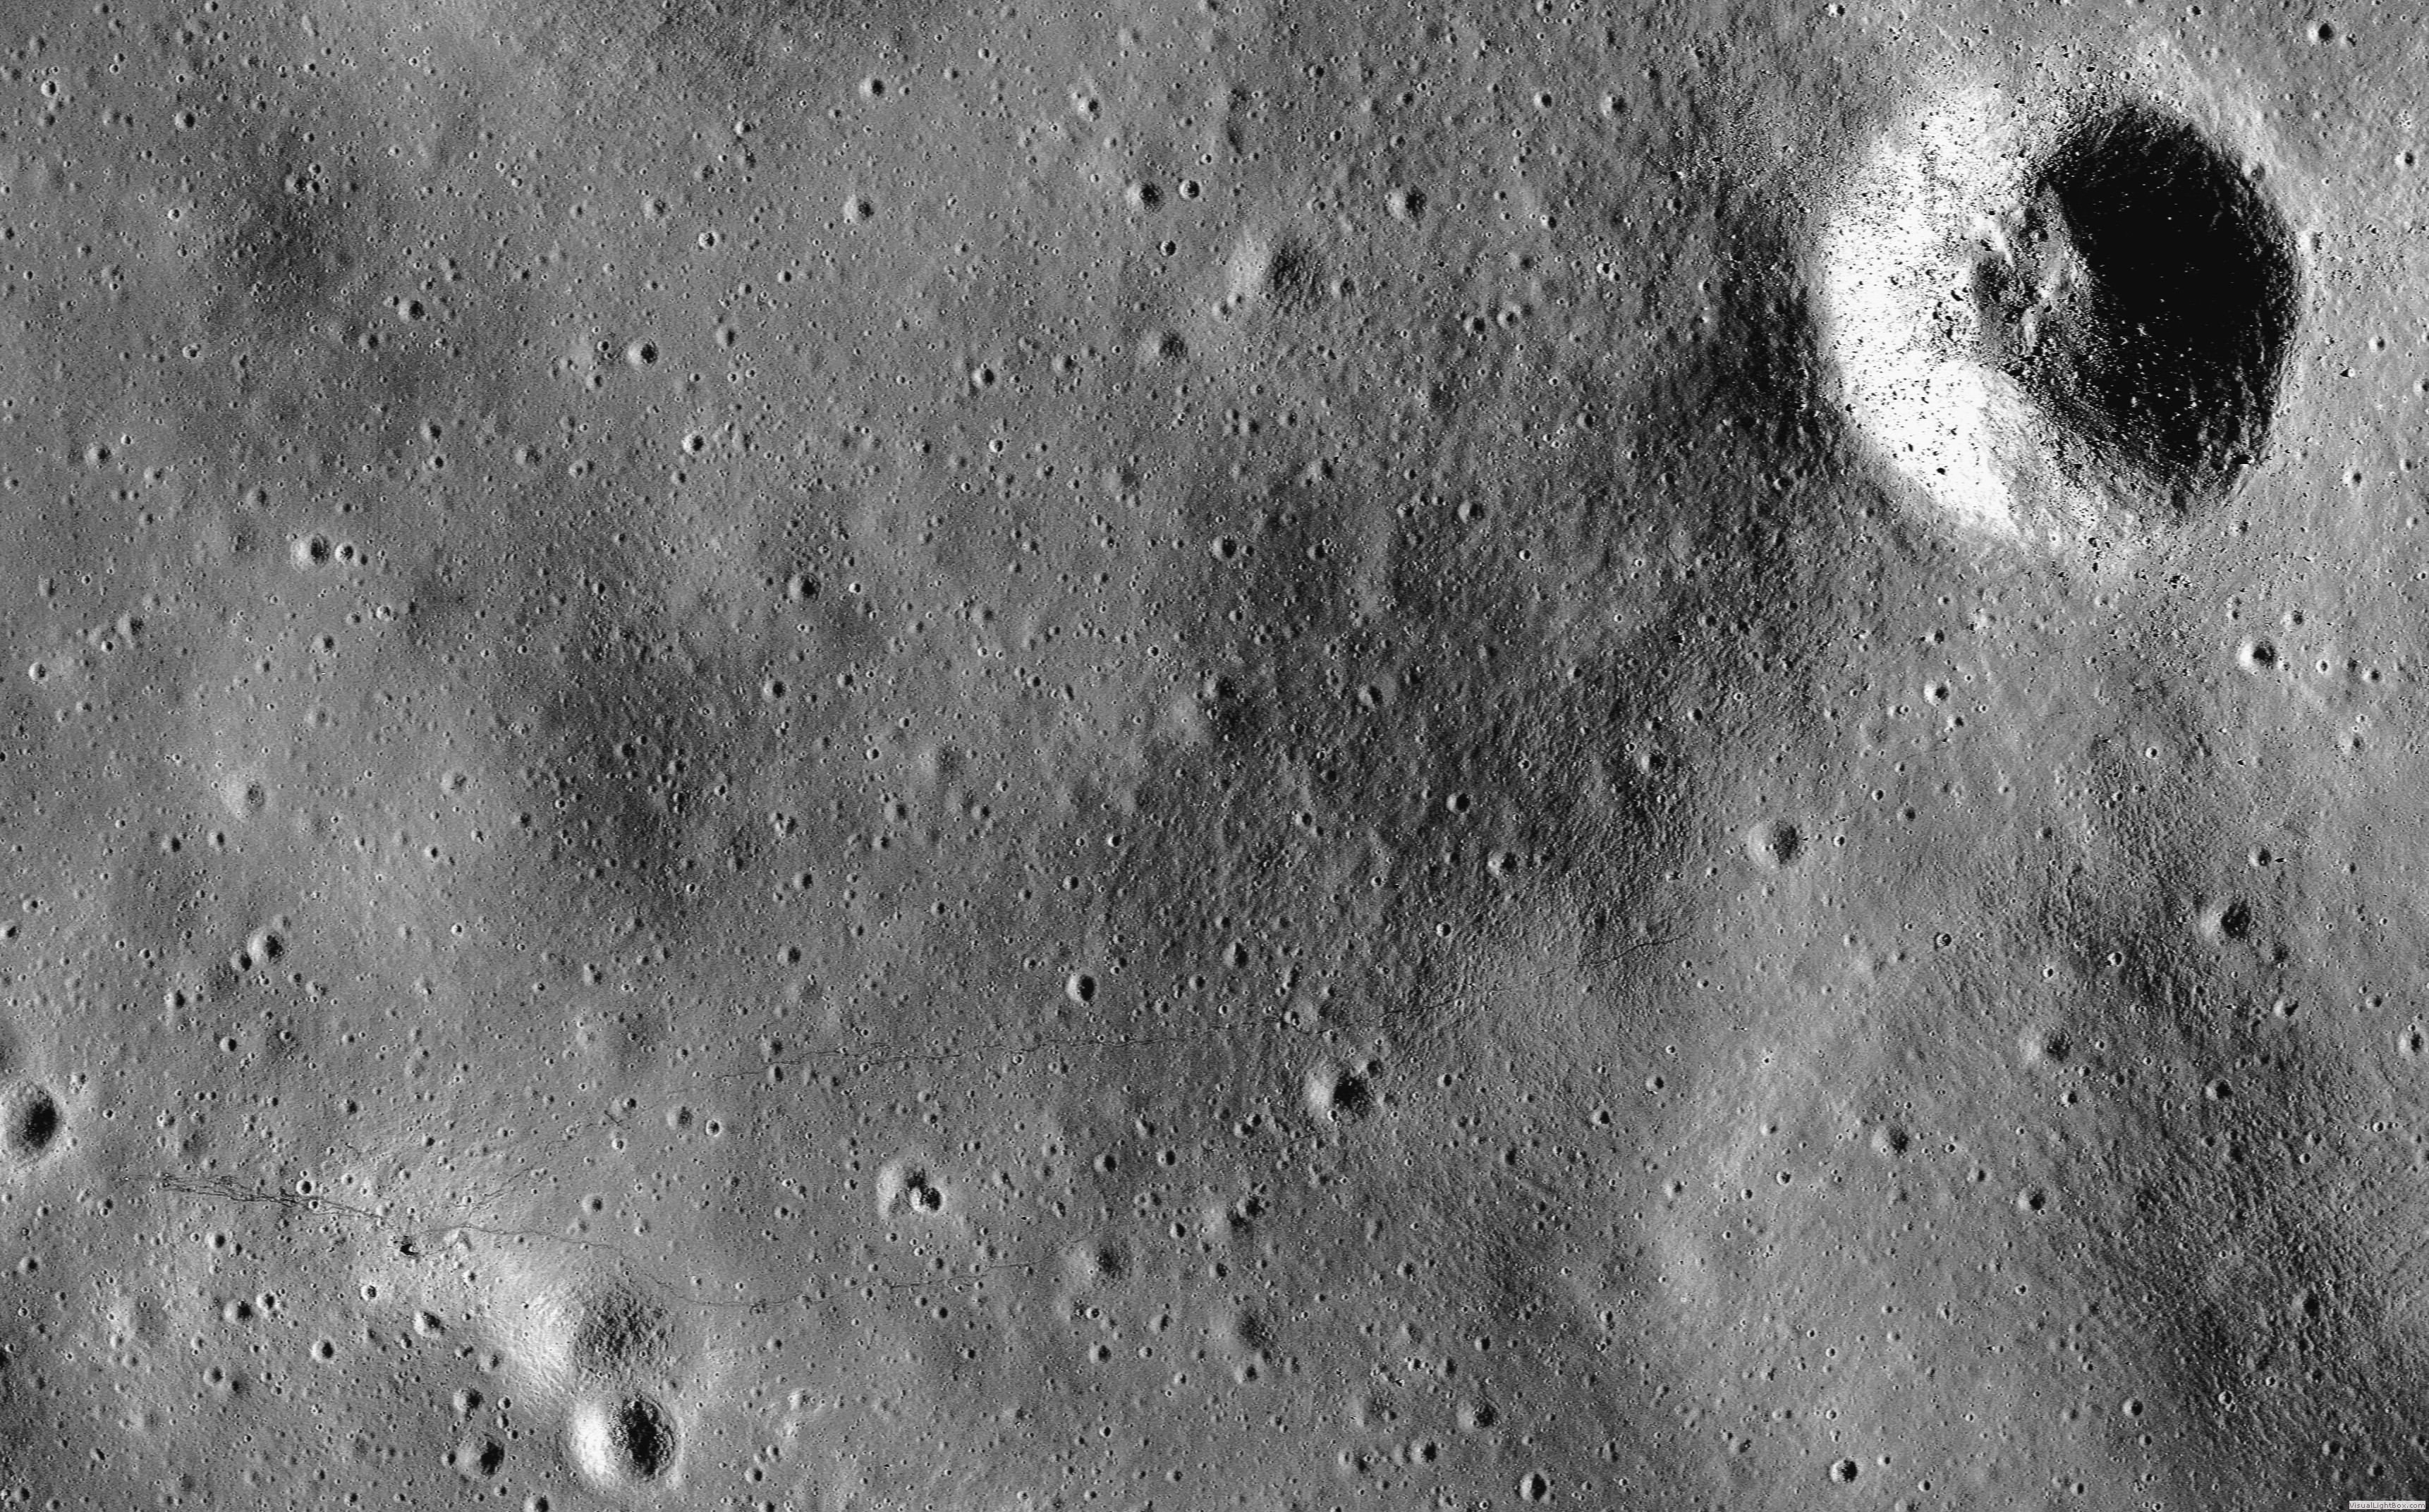
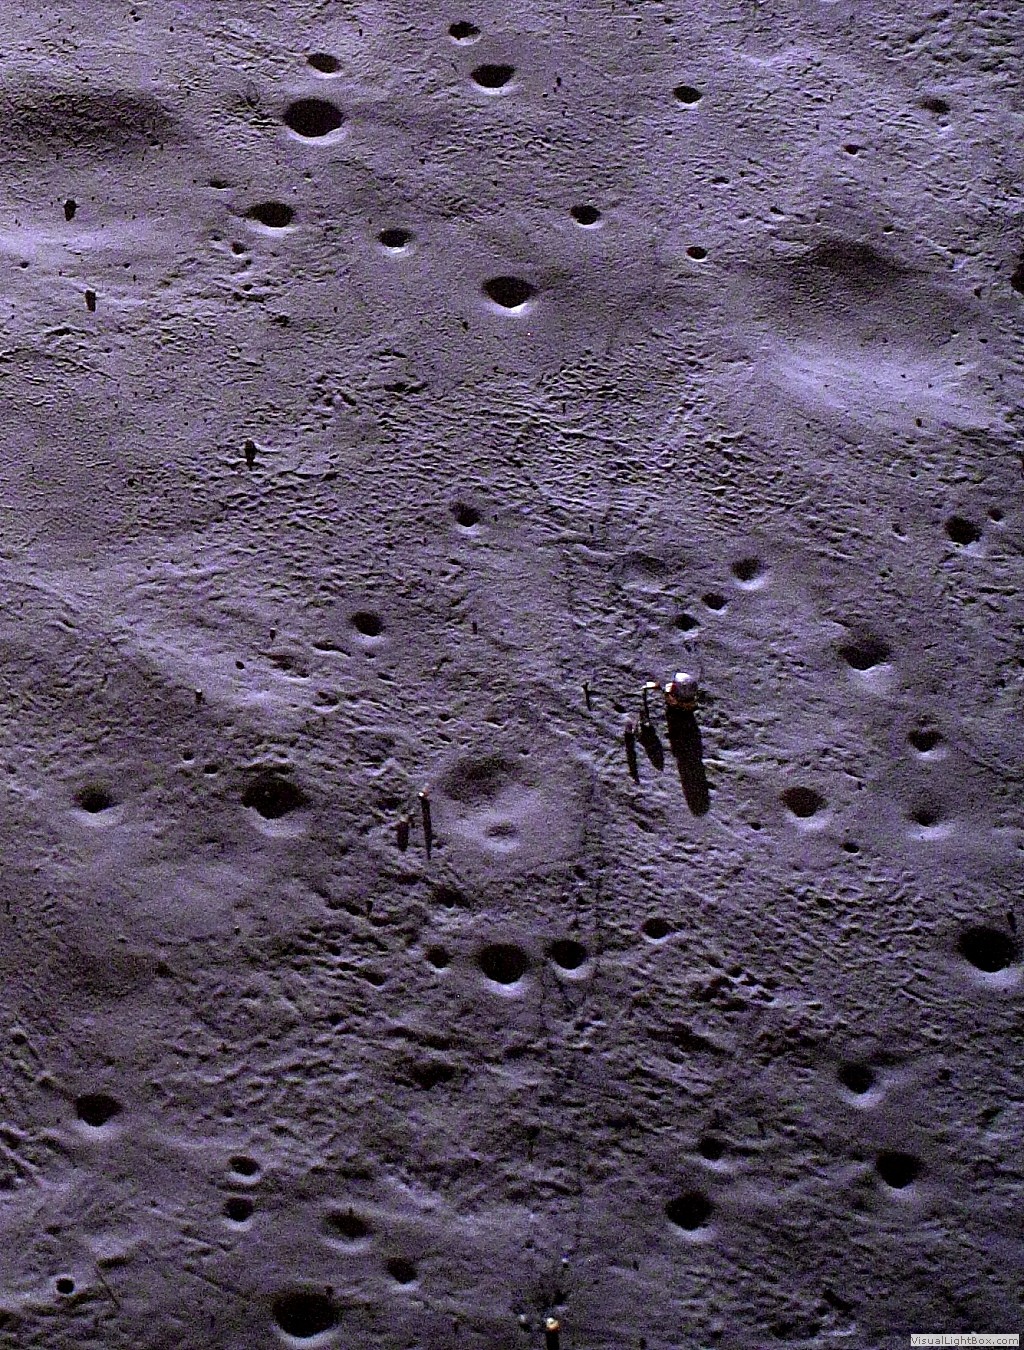
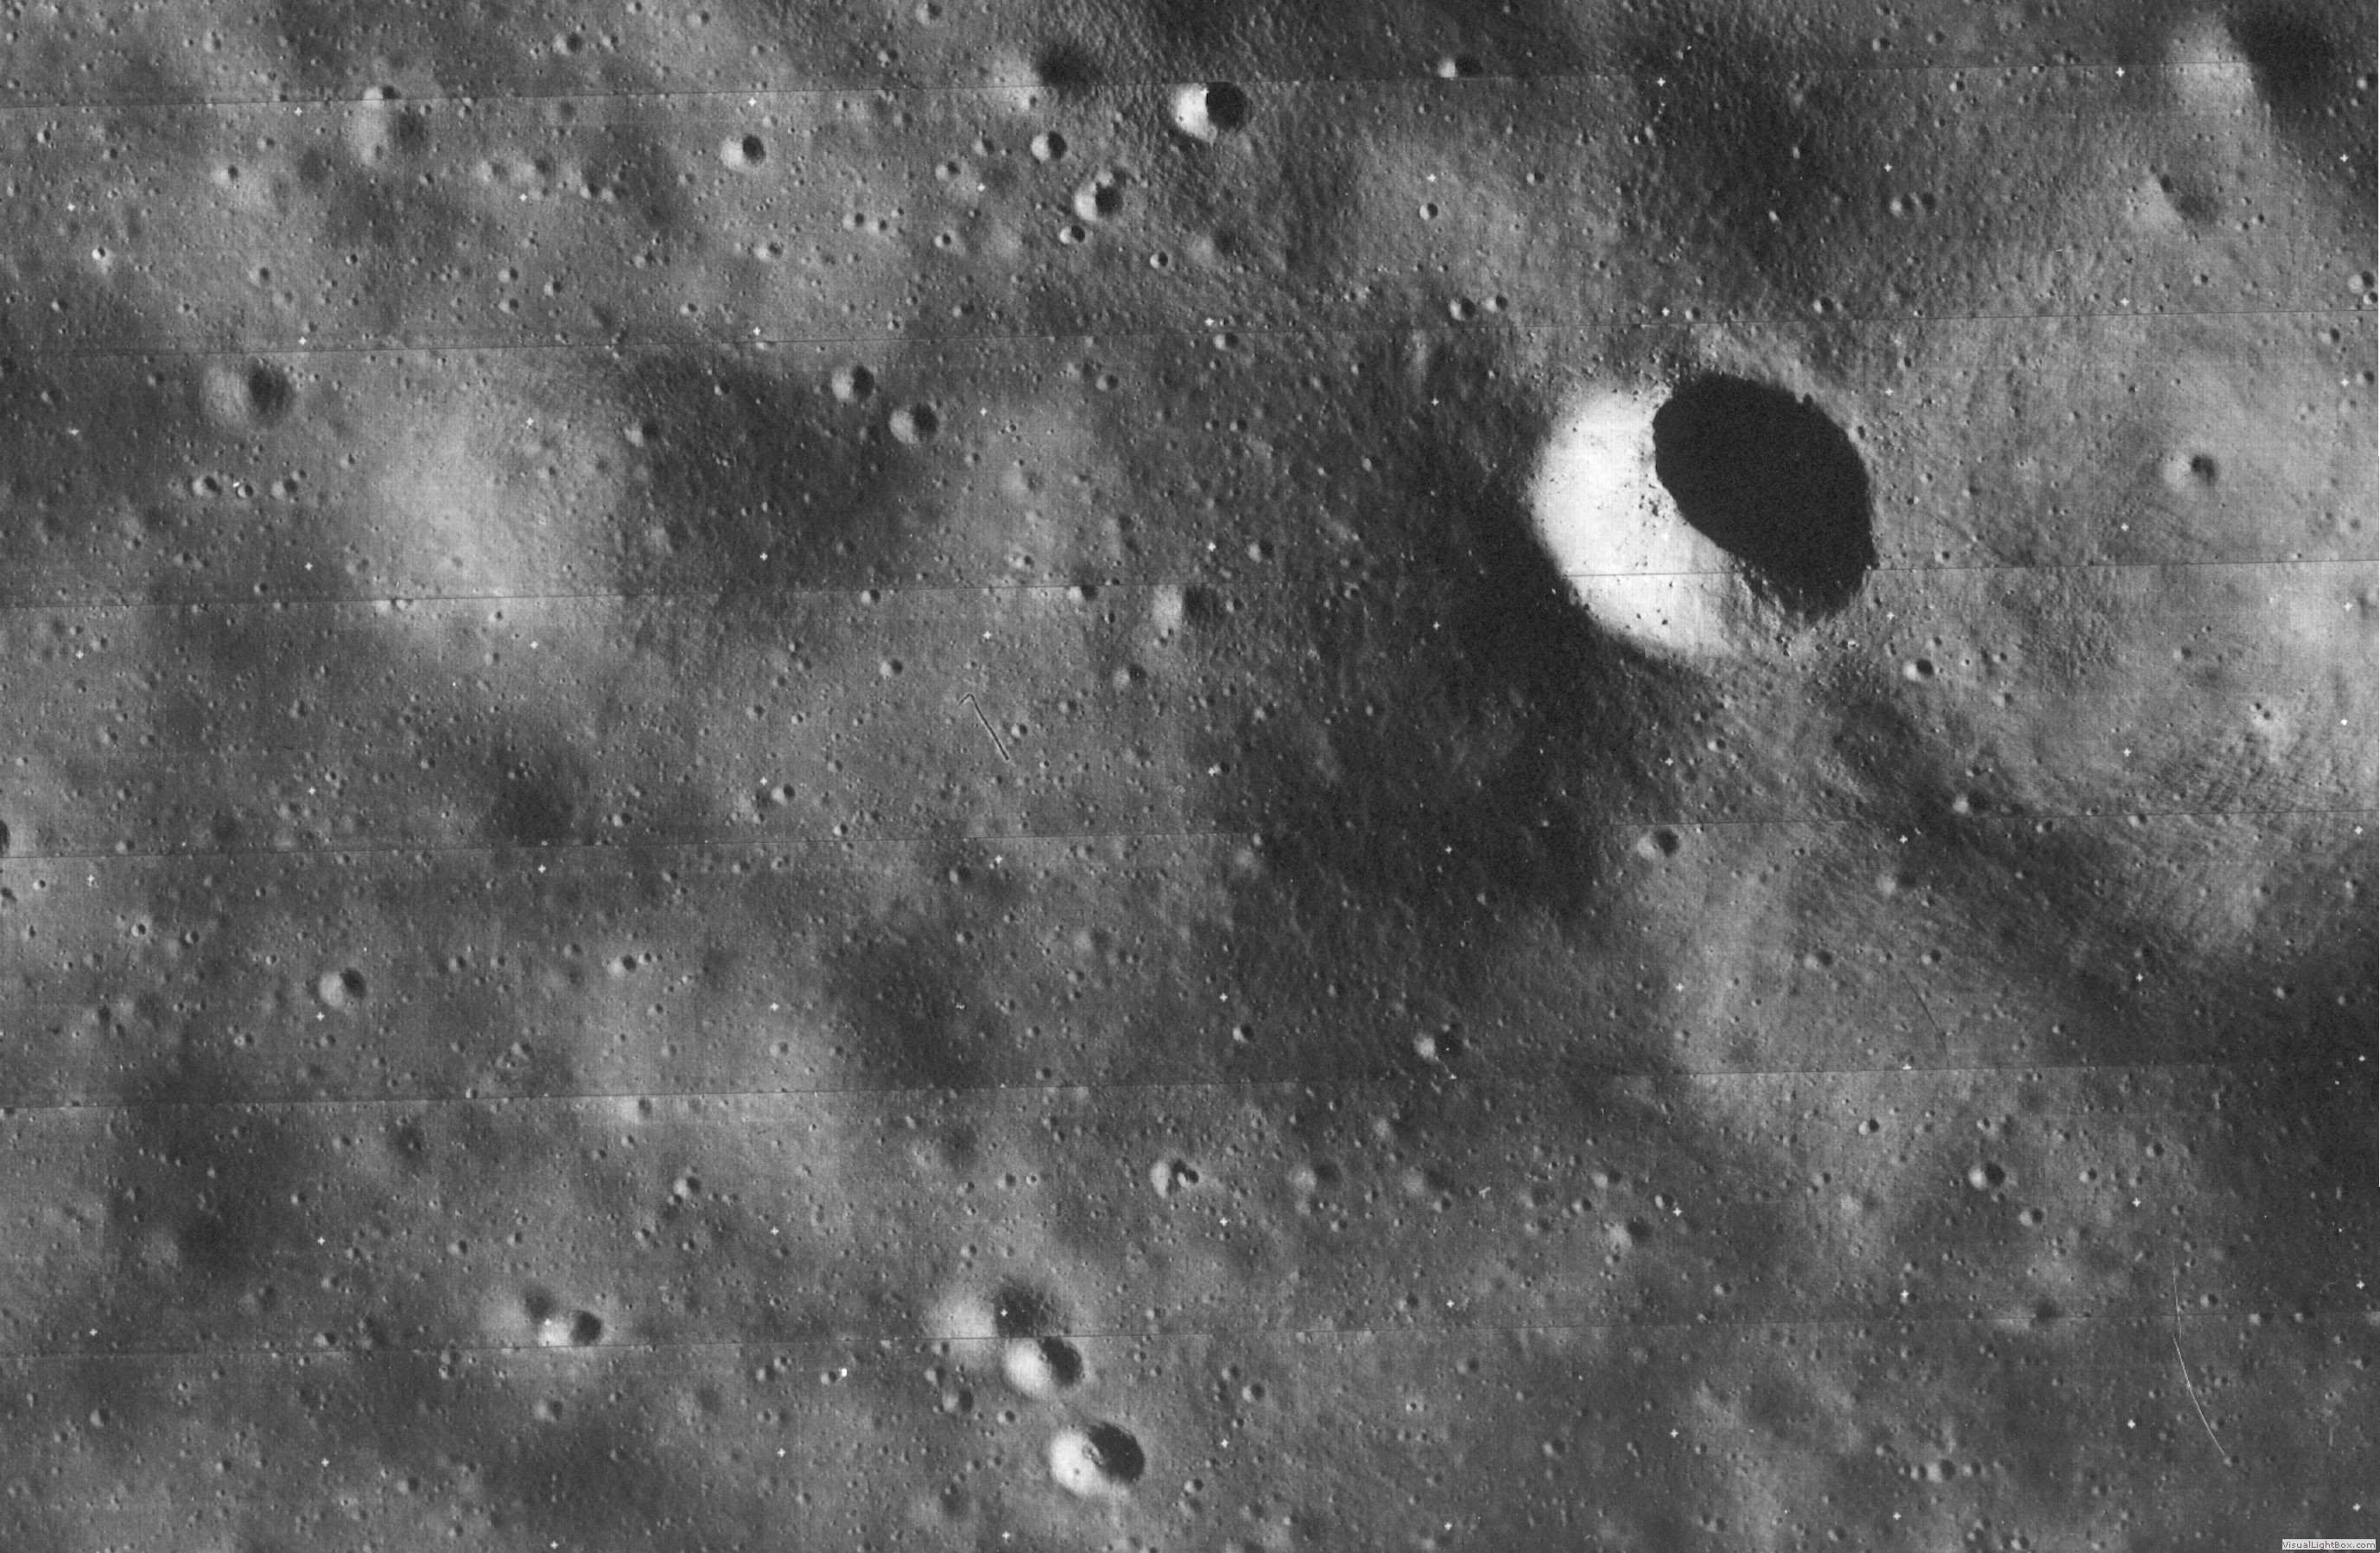 Lunar Orbiter Image
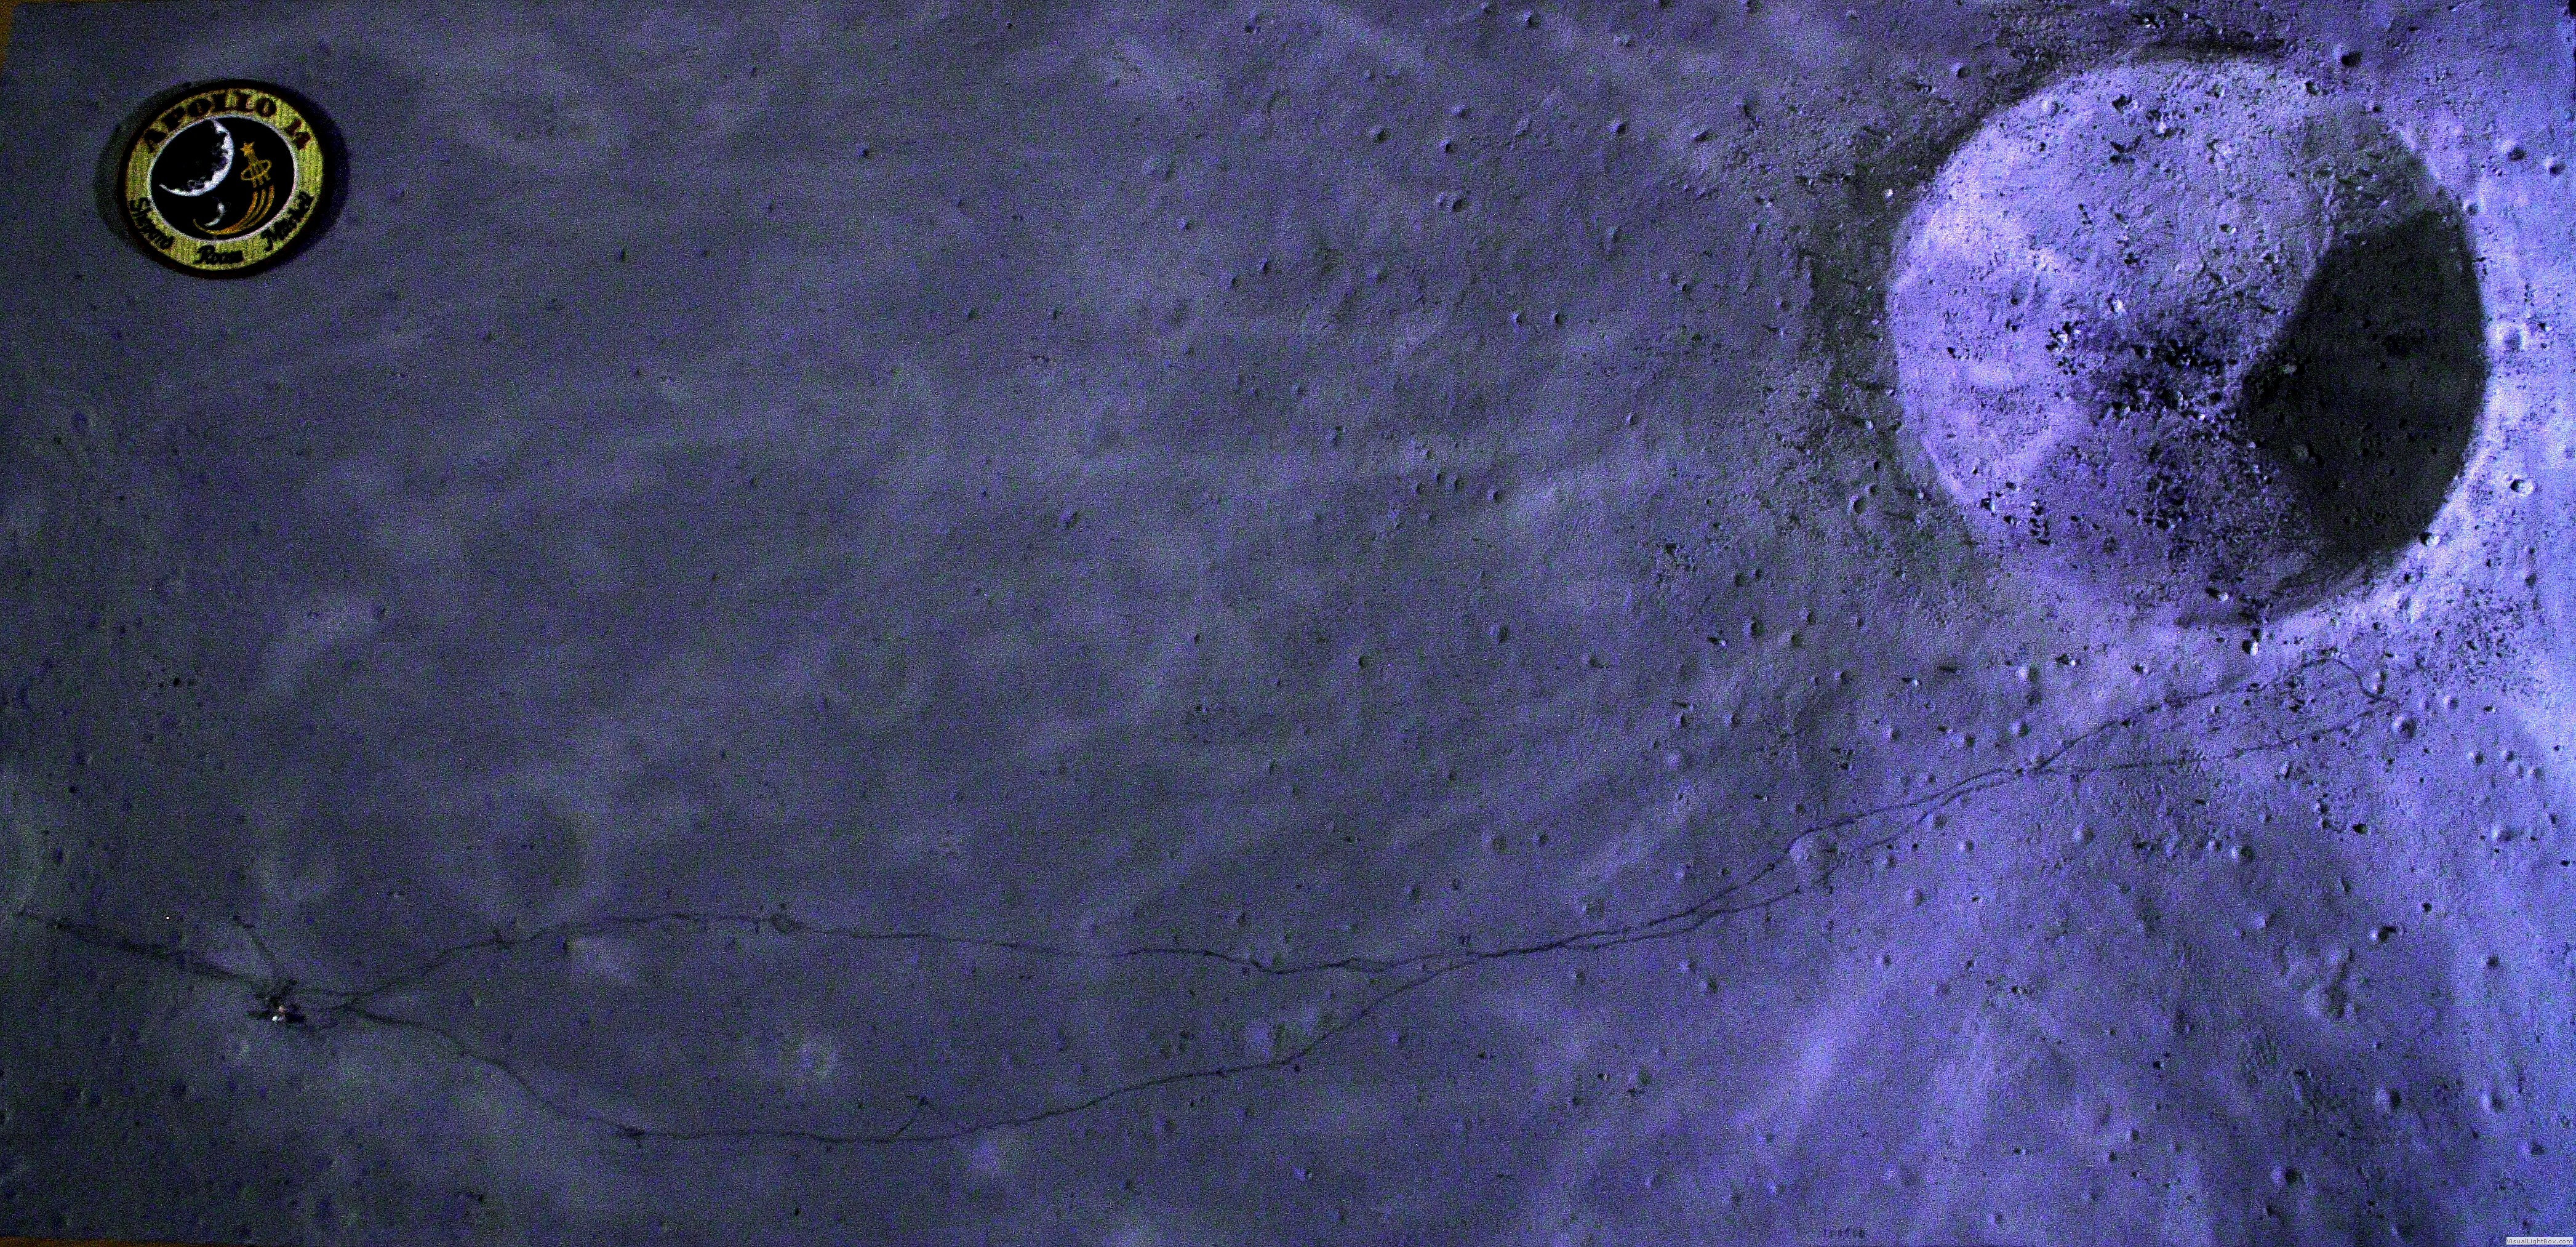
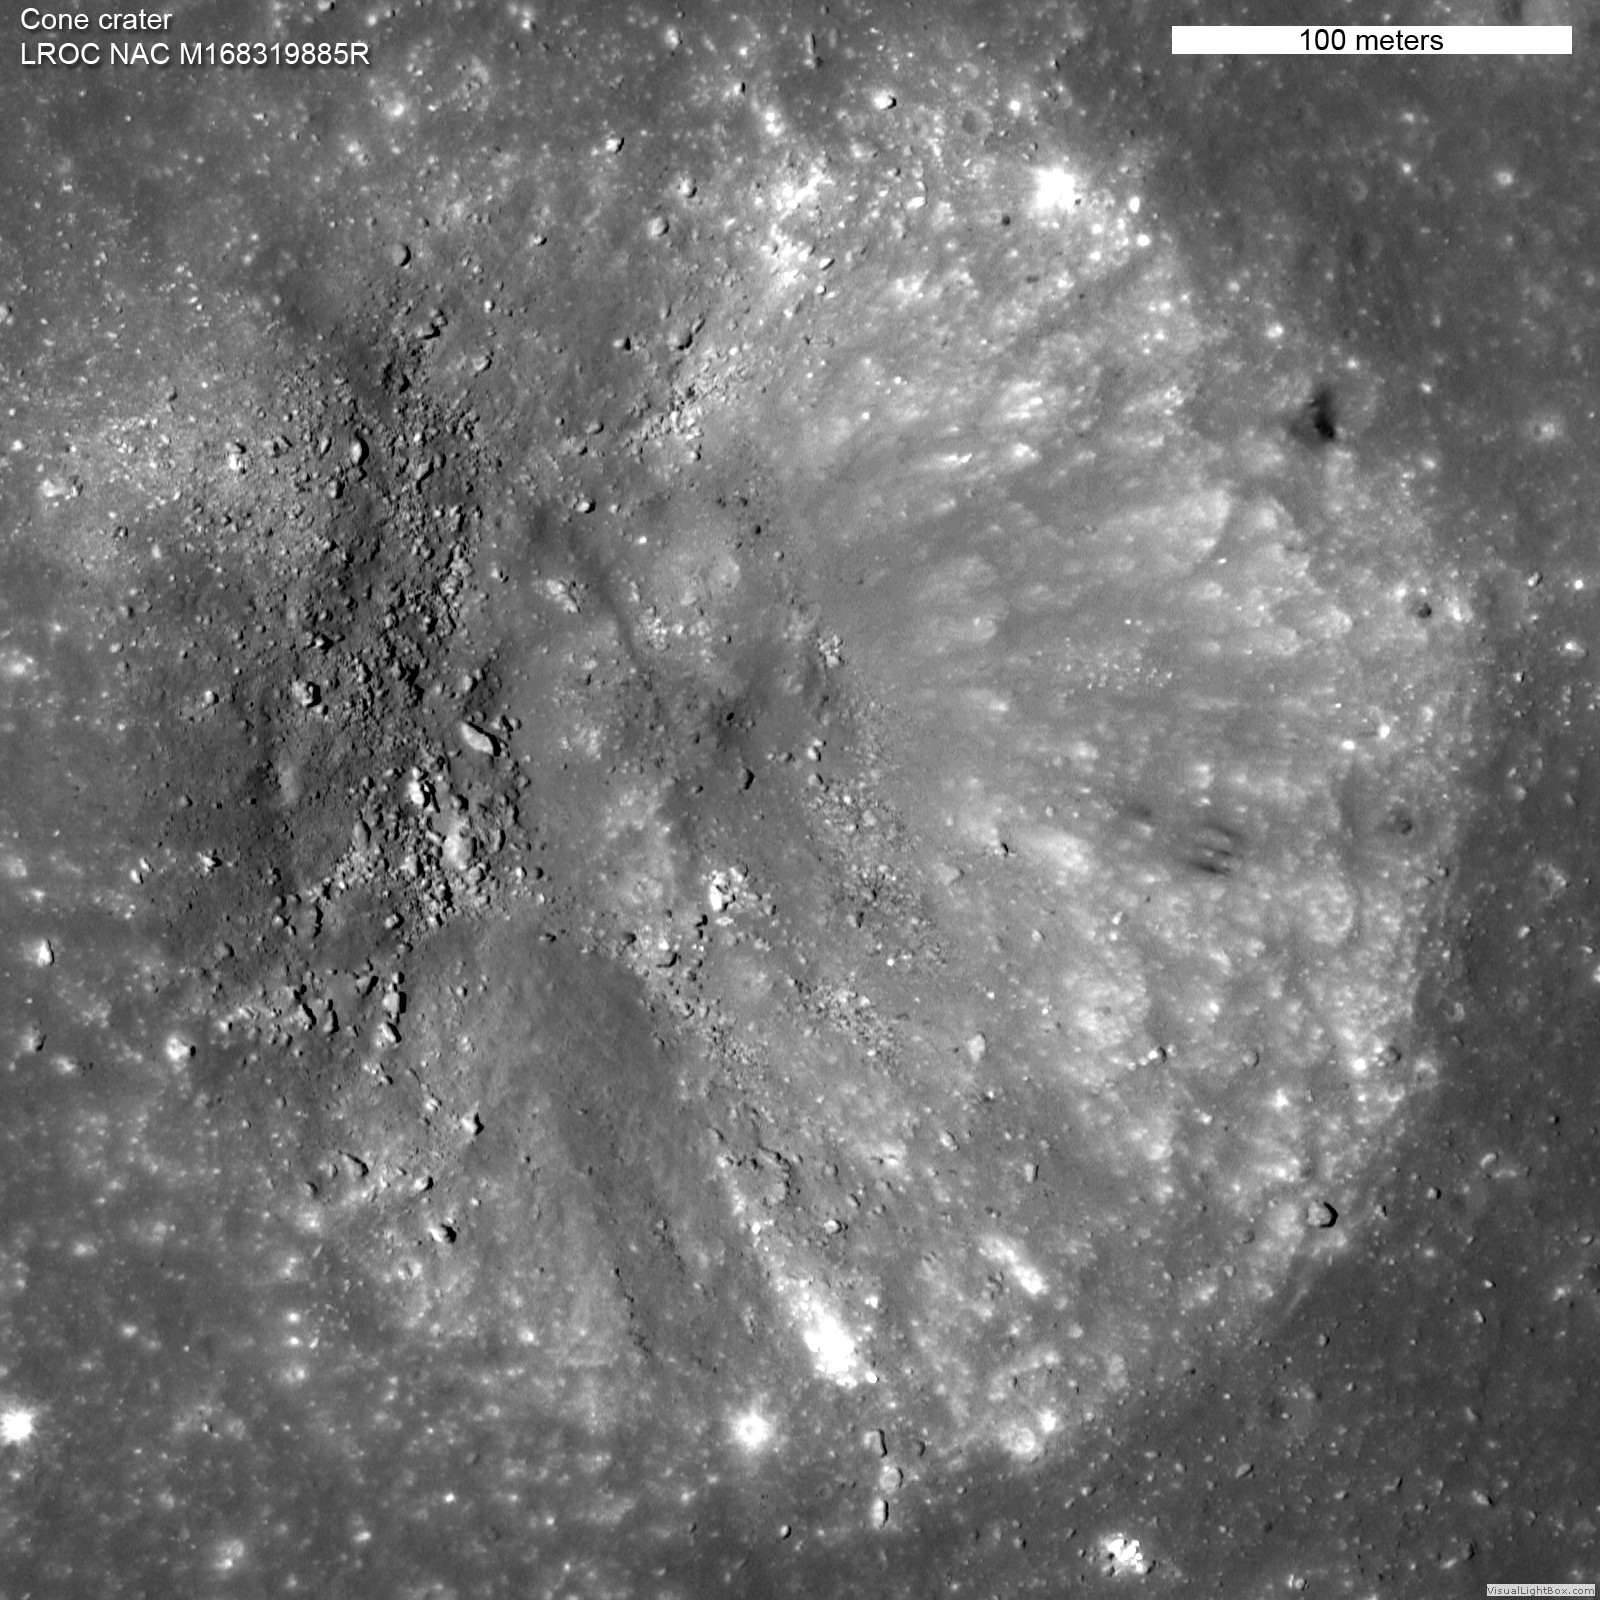
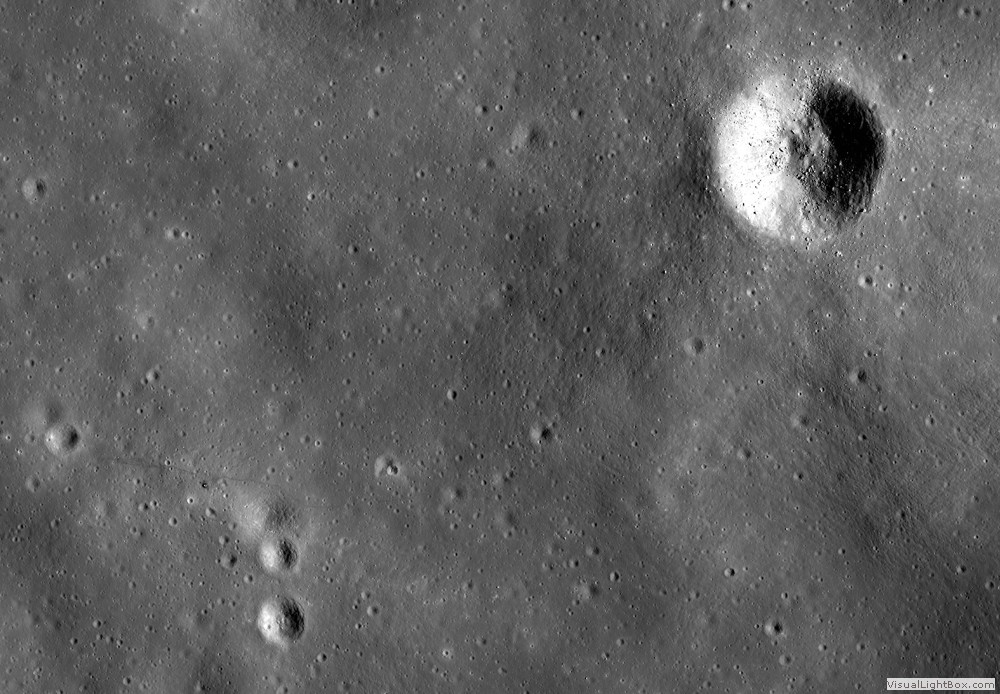 Recent LROC image
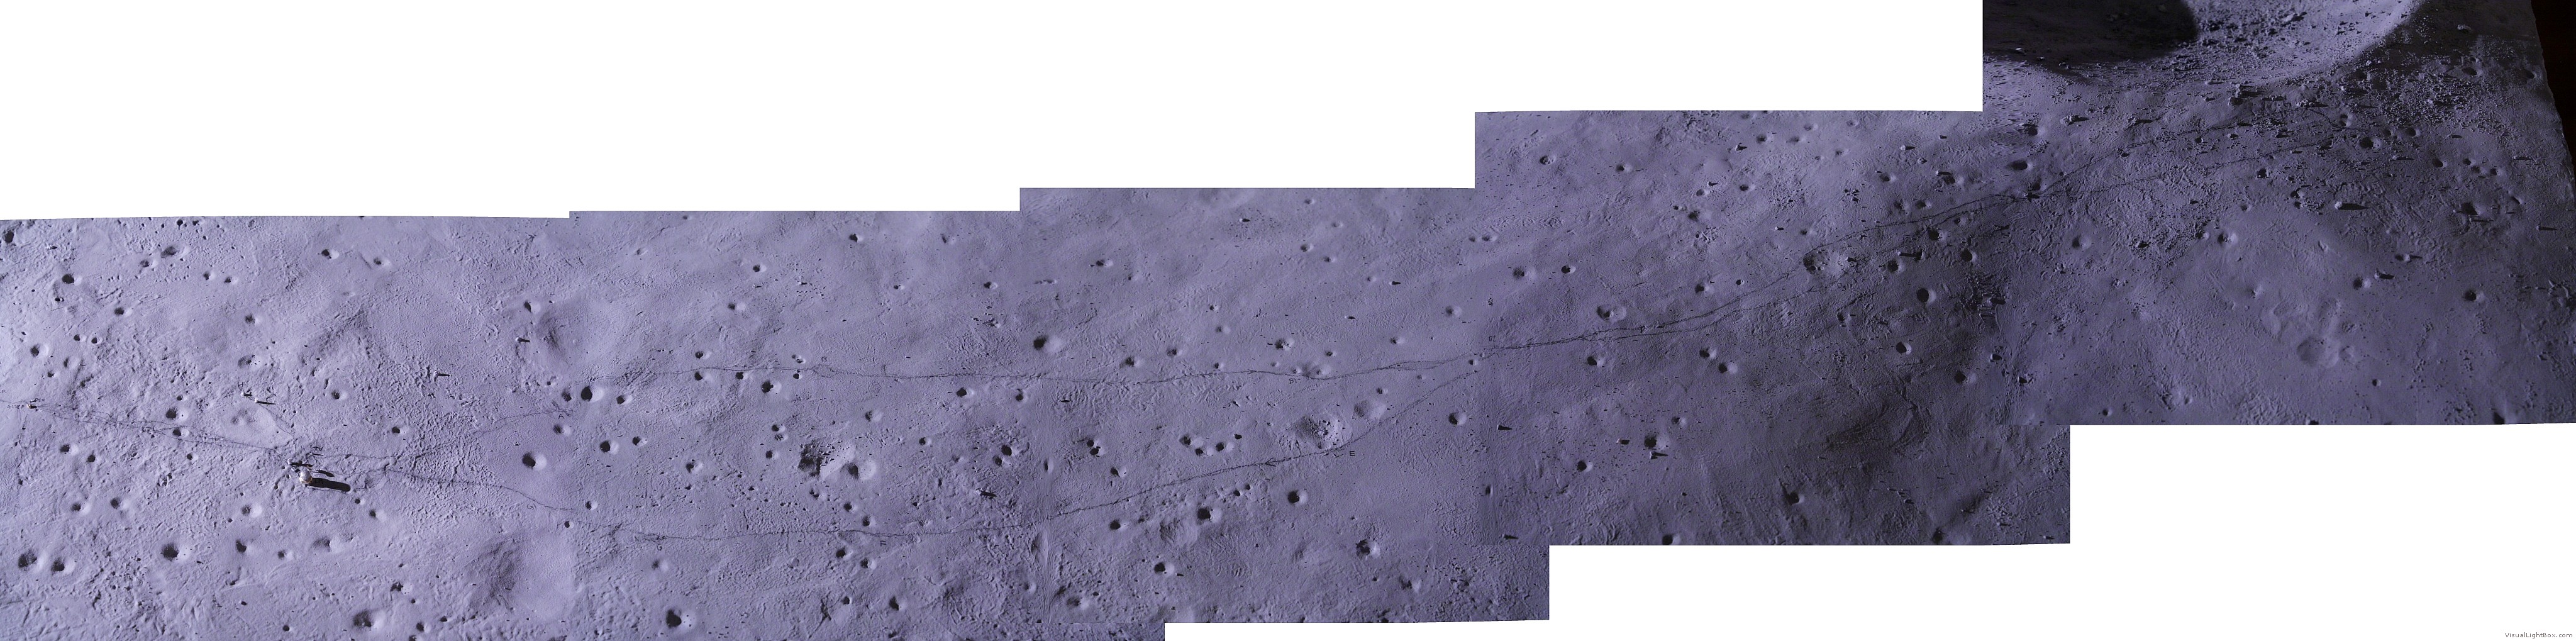
 Recent LROC image, enhanced trails
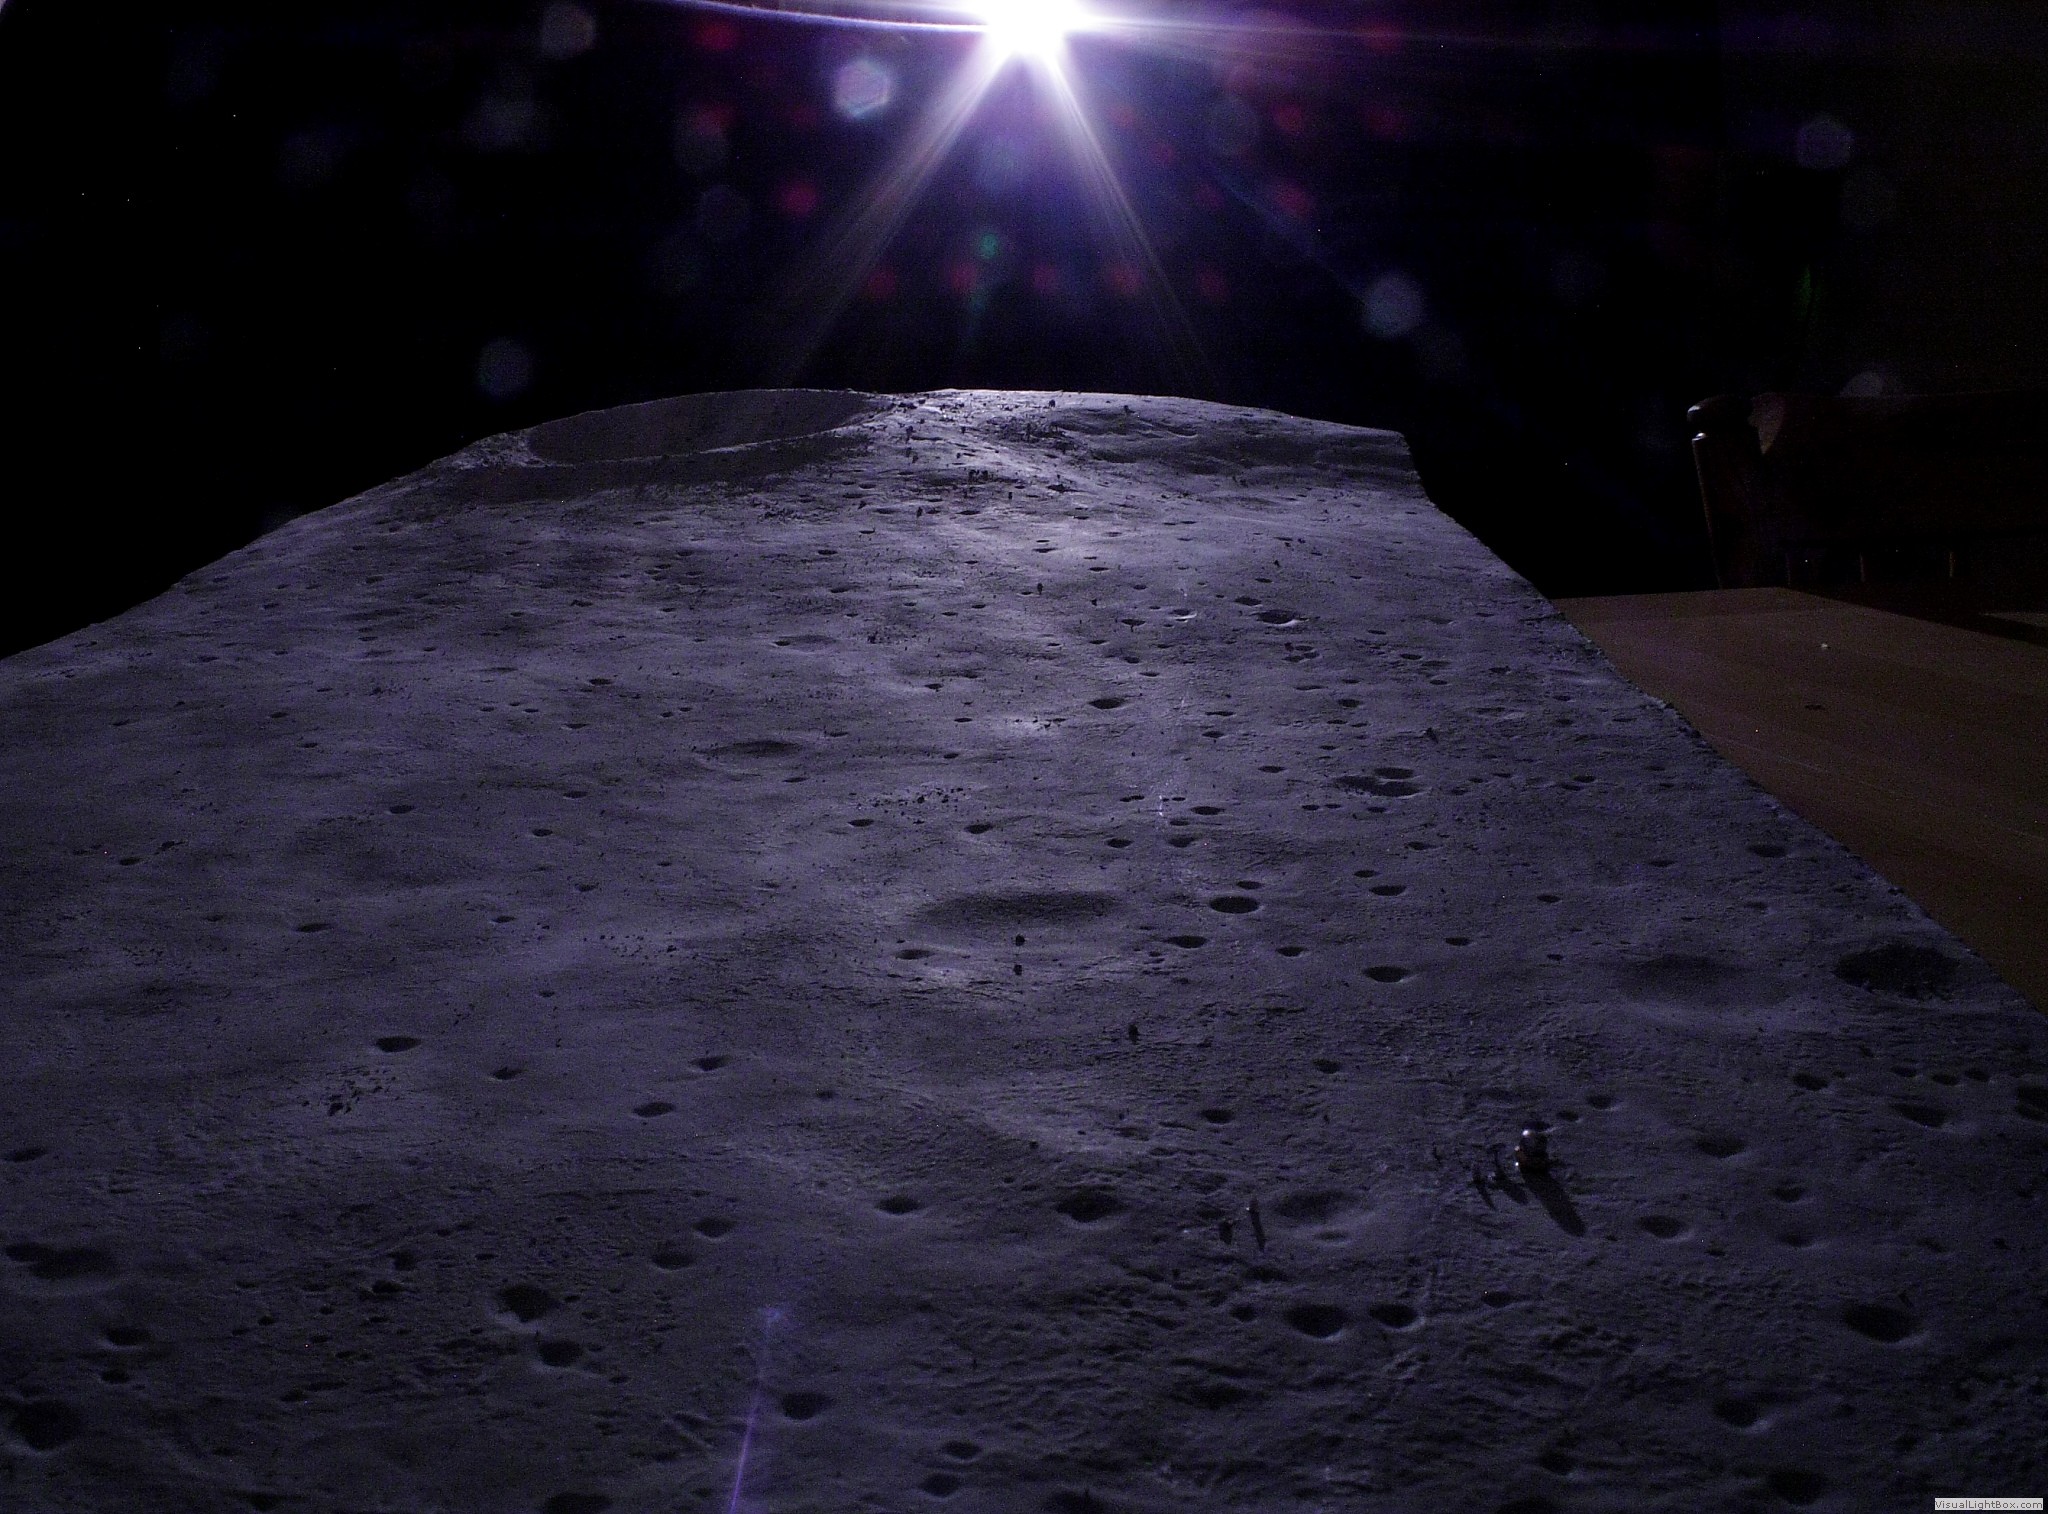
 Full model, different lighting
 Recent LROC image, wider field
 of view of the Fra Mauro Formation
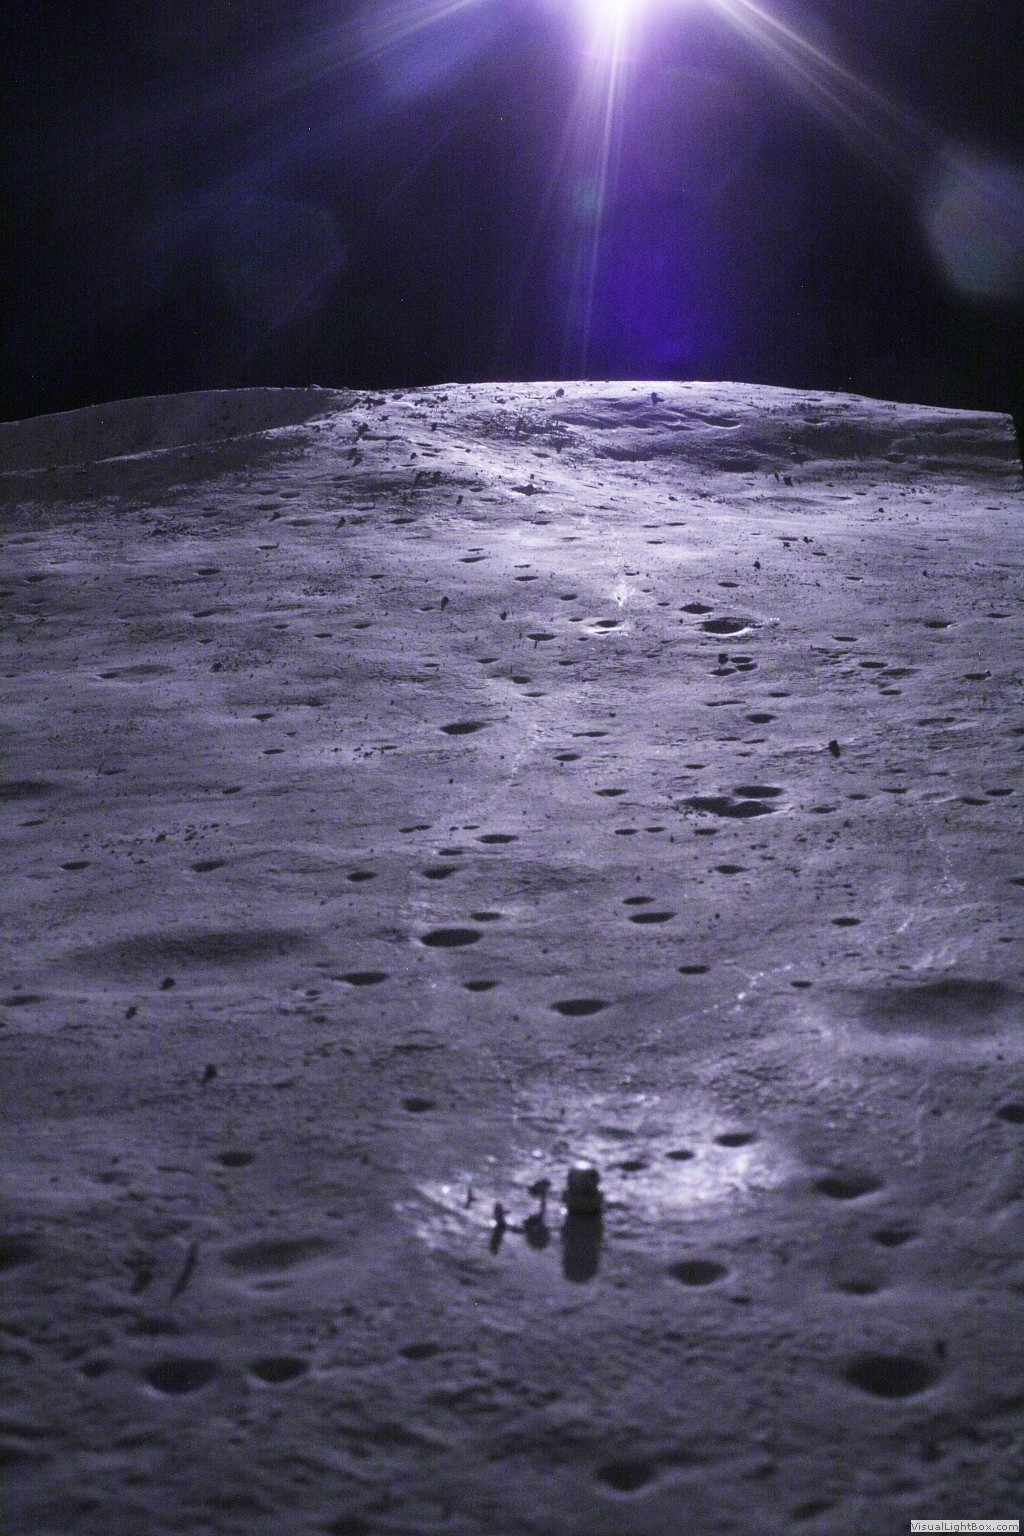
 Model, from a different viewing angle
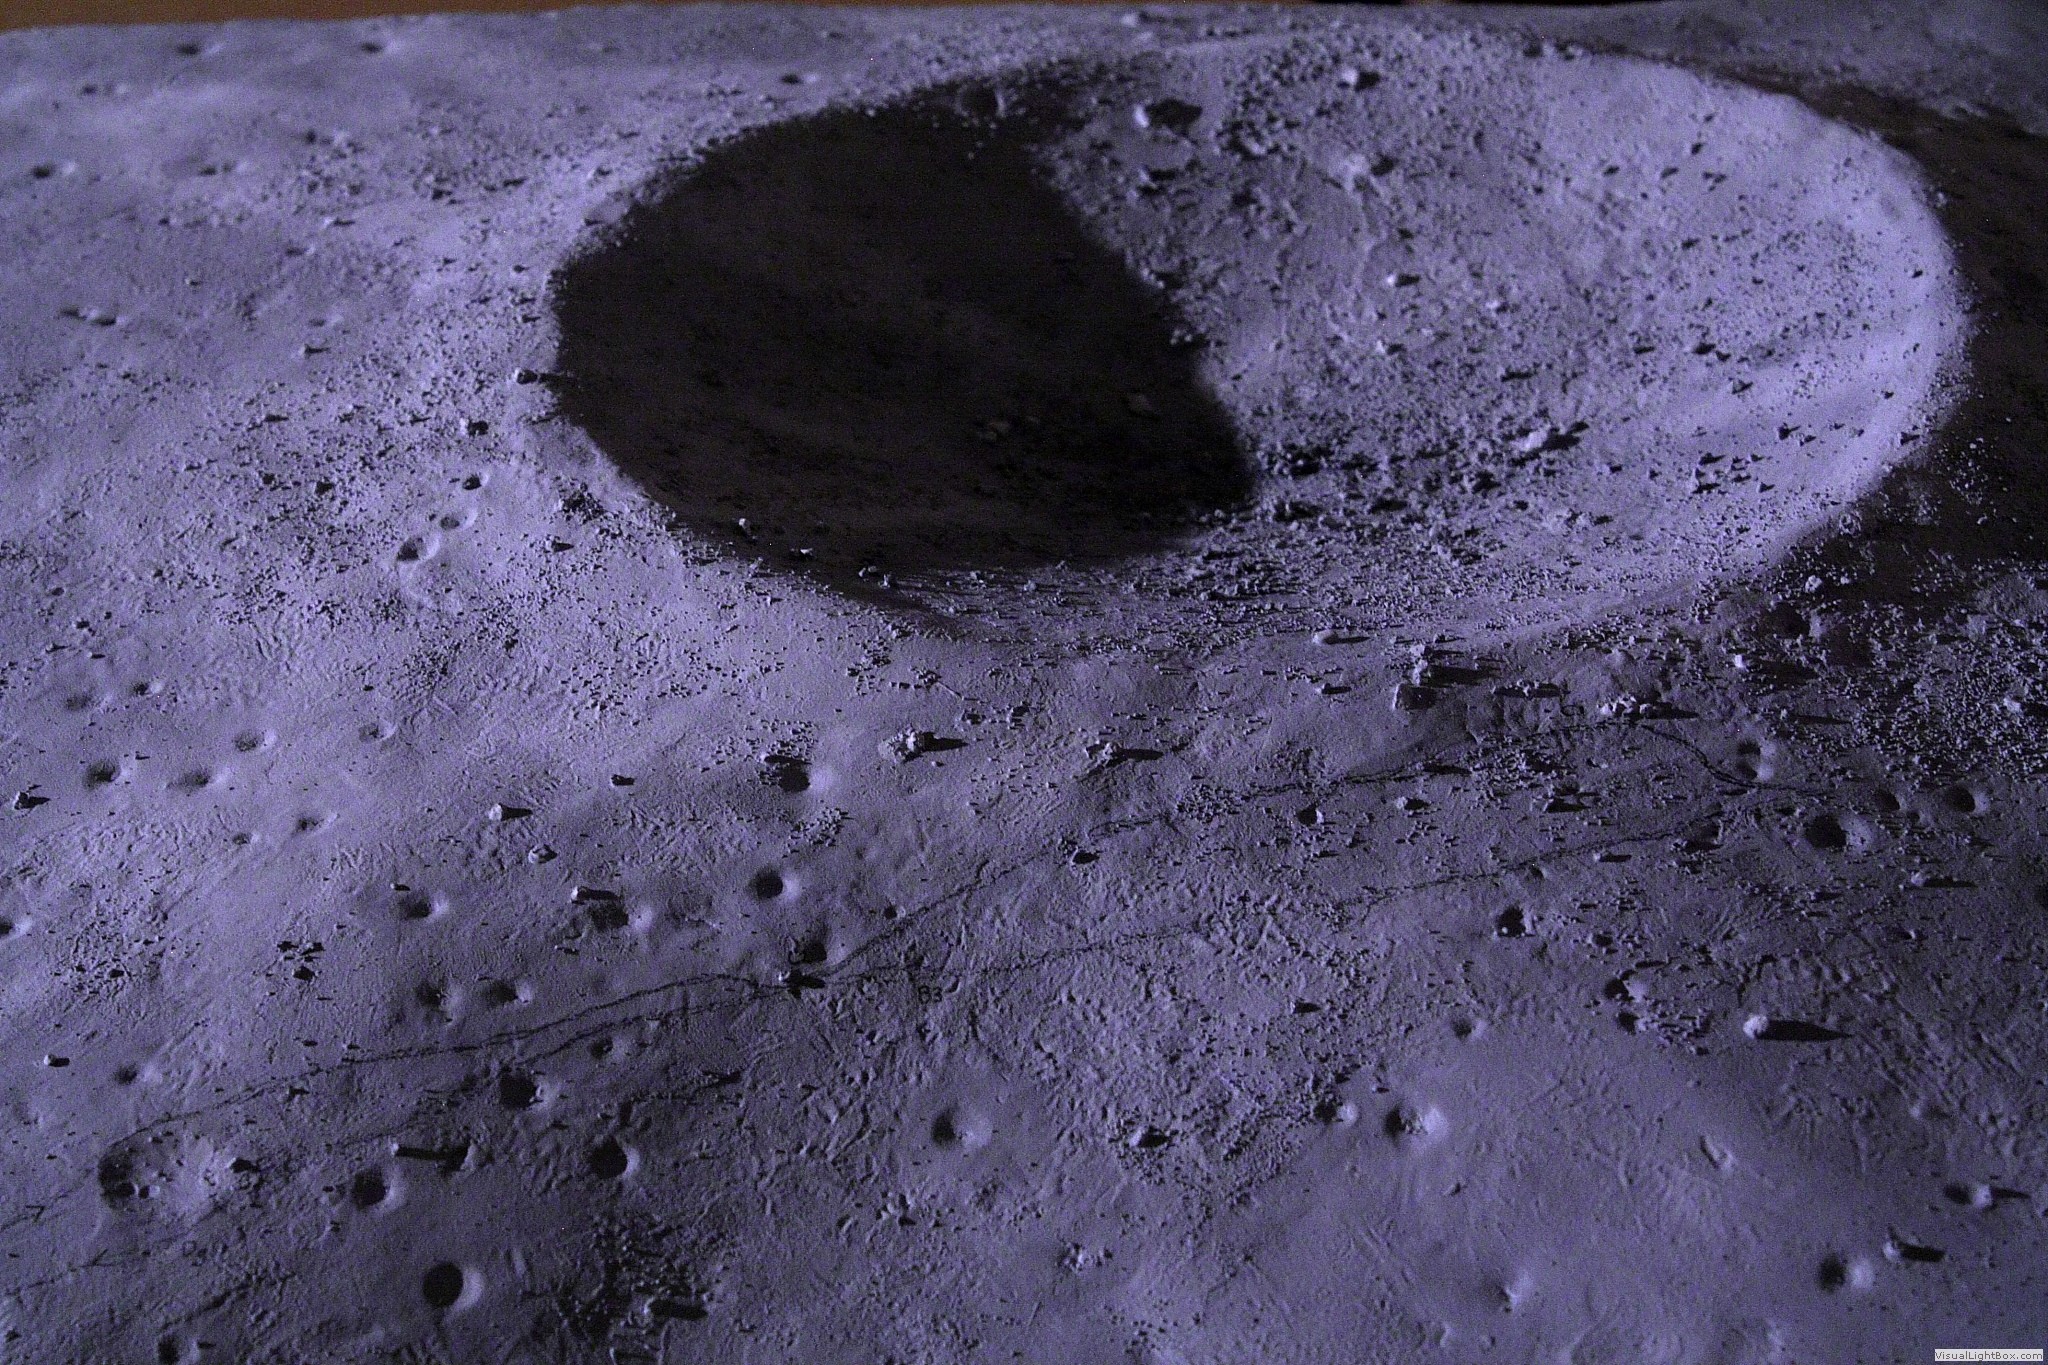
 Cone Crater in the model
 Cone again
 Cone, yet again
 Cone Crater with Cone Ridge and the LM
 Uphill from station B2
 (from Apollo Lunar Surface Journal)
 Above Cone Crater in the model.
High contrast image
 LROC, above Cone.
Slightly oblique view. Saddle Rock is about 30 meters from the rim.
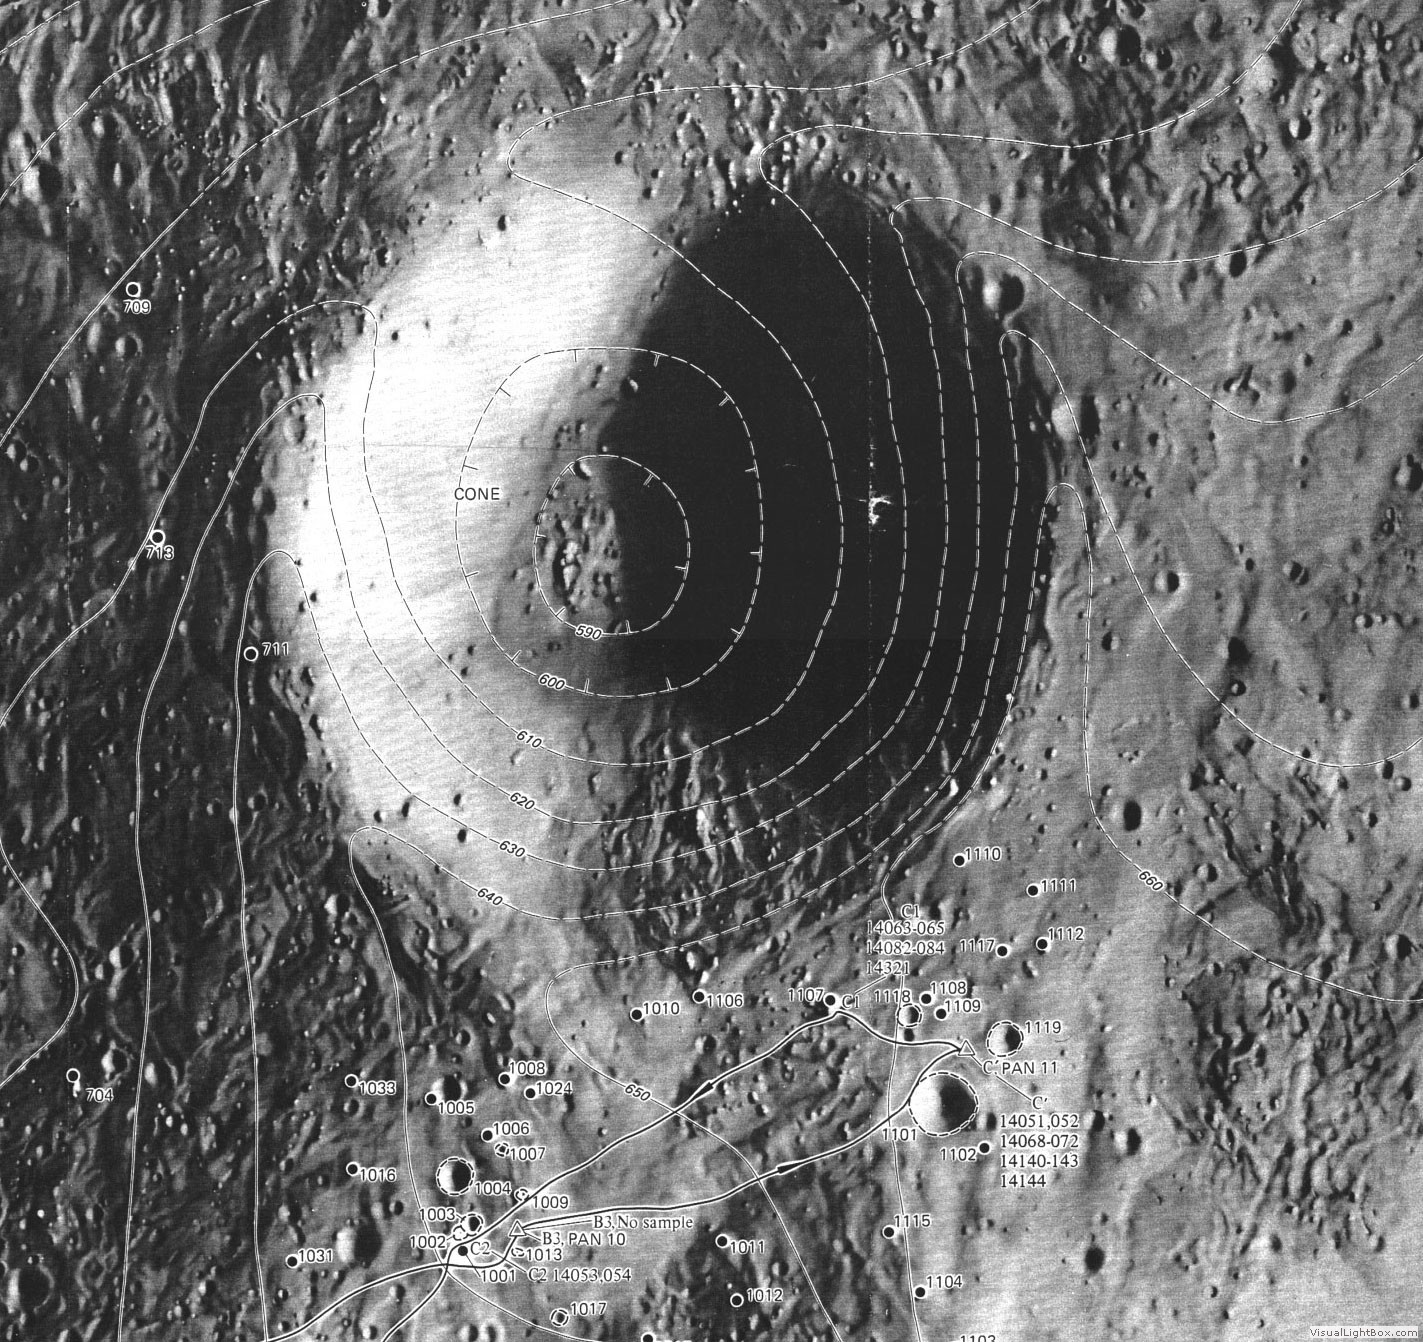 From USGS paper, Lunar Orbiter image,
 with contours
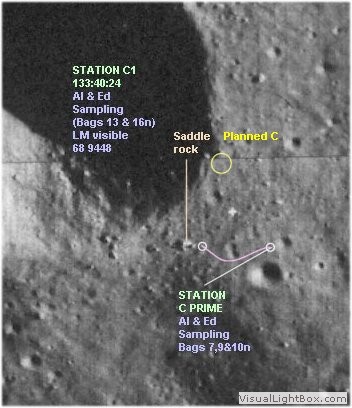 C prime and C1 stations
 From Flank Crater to stations C prime and C1
 in the model
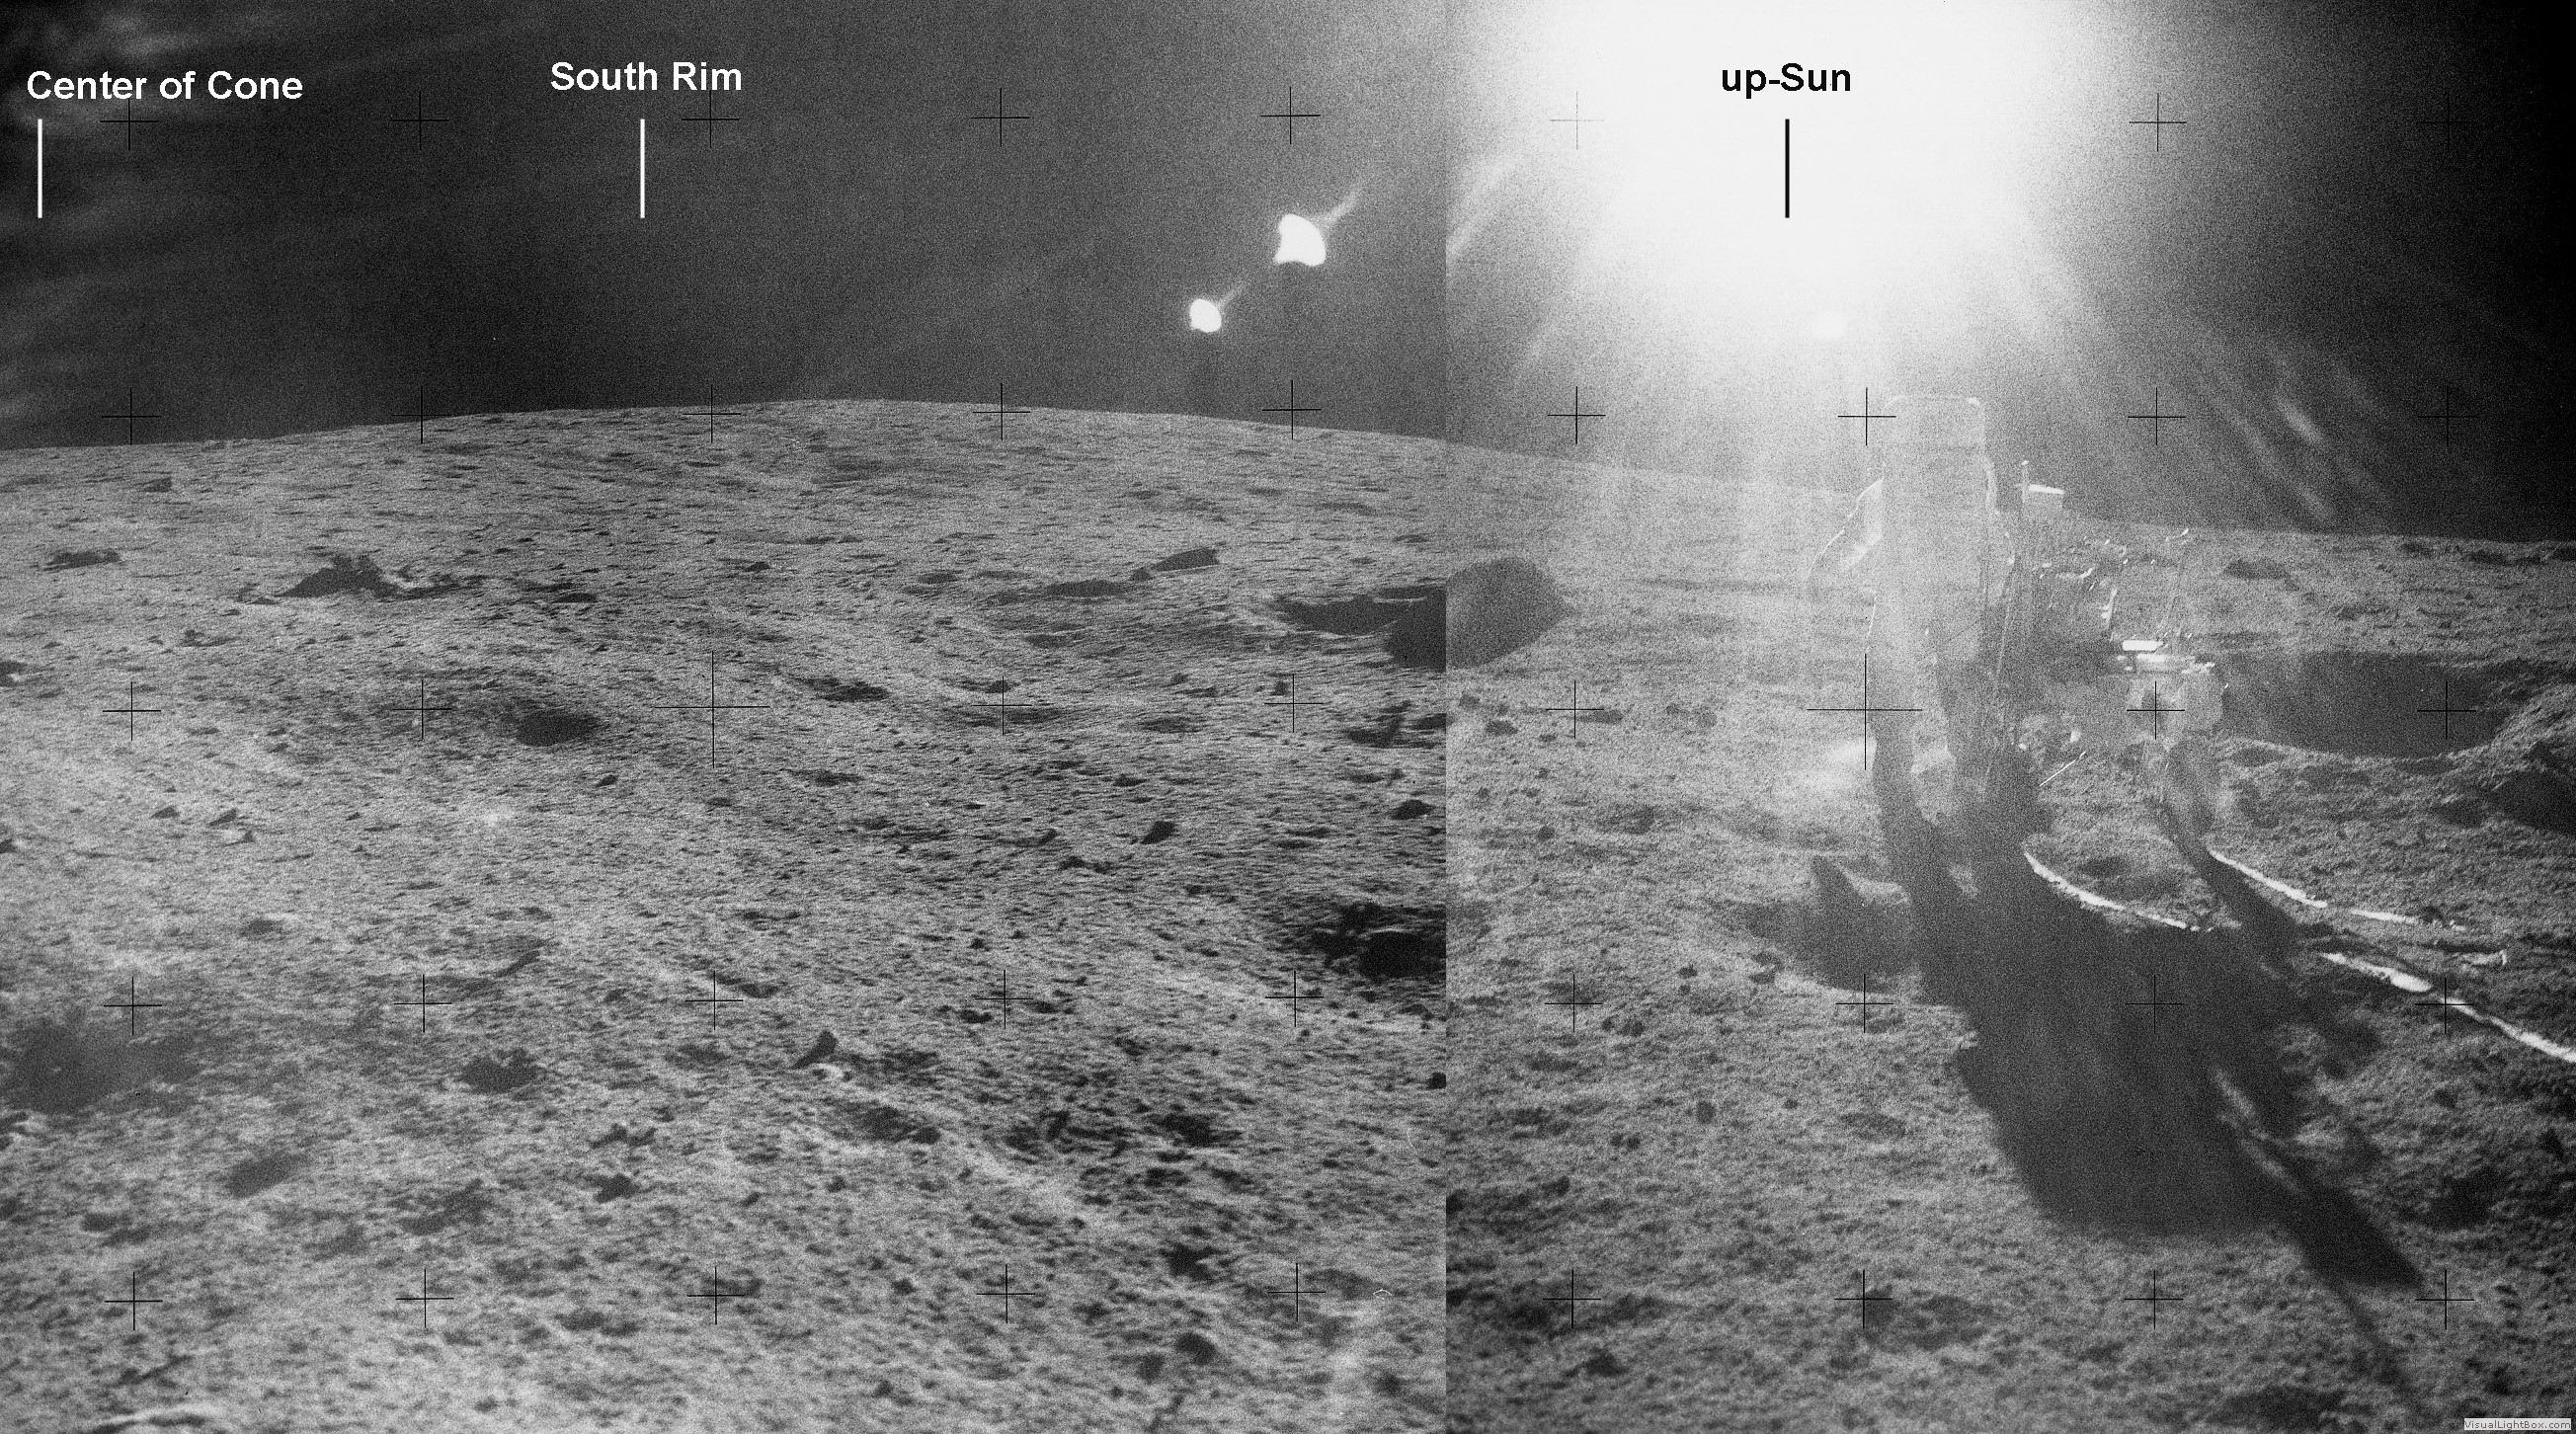
 C prime pan. View from south east (with Old Nameless Crater on the horizon) to south west,
 towards the LM
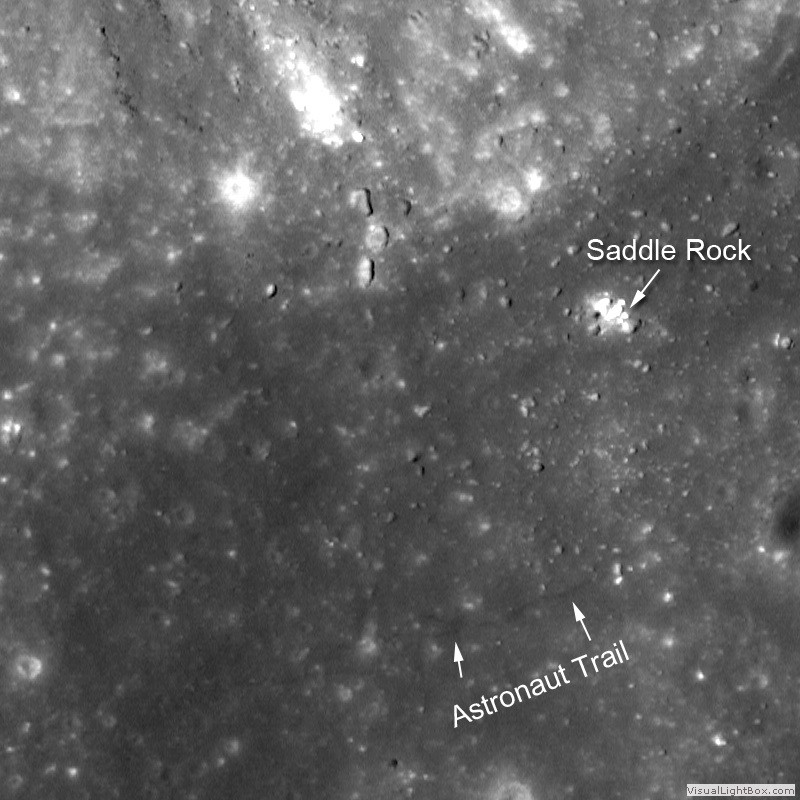 LROC Saddle Rock detail. Saddle Rock is about 30 meters from the rim, as close as the astronauts got, and the interior of Cone Crater remained hidden from their view. Three 10 meter size rocks are seen right on the crater rim, about 50 meters to the left of Saddle Rock.
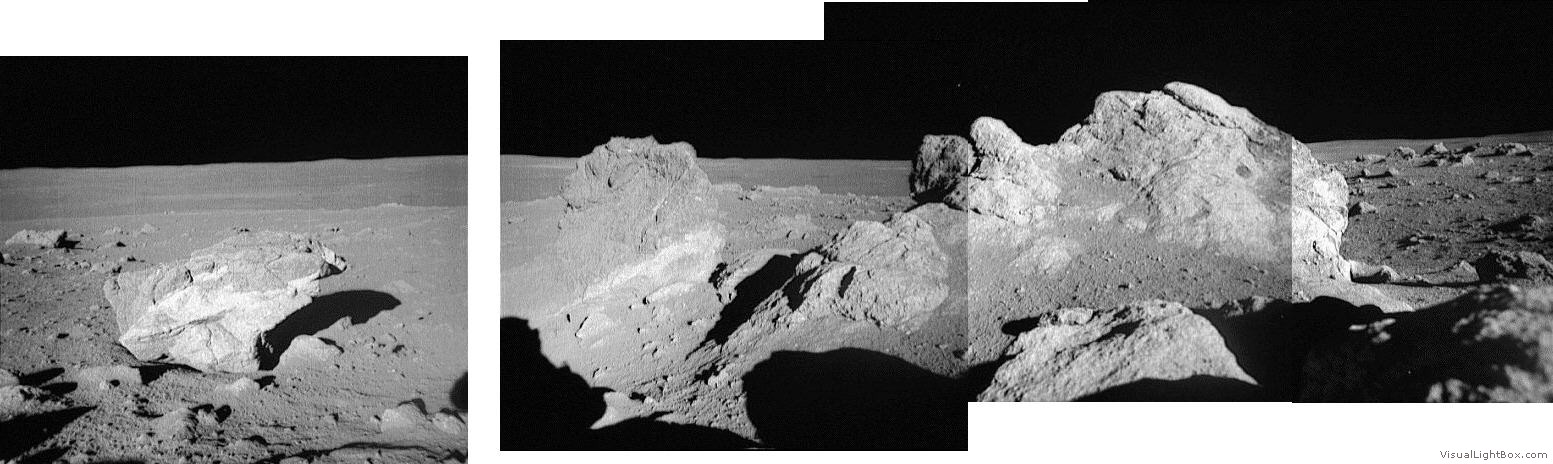 Saddle Rock, Layered Rock and Contact Rock (right to left). This boulder field is about 10 meters across. The 10 meter size rocks on the crater rim are seen on the local horizon
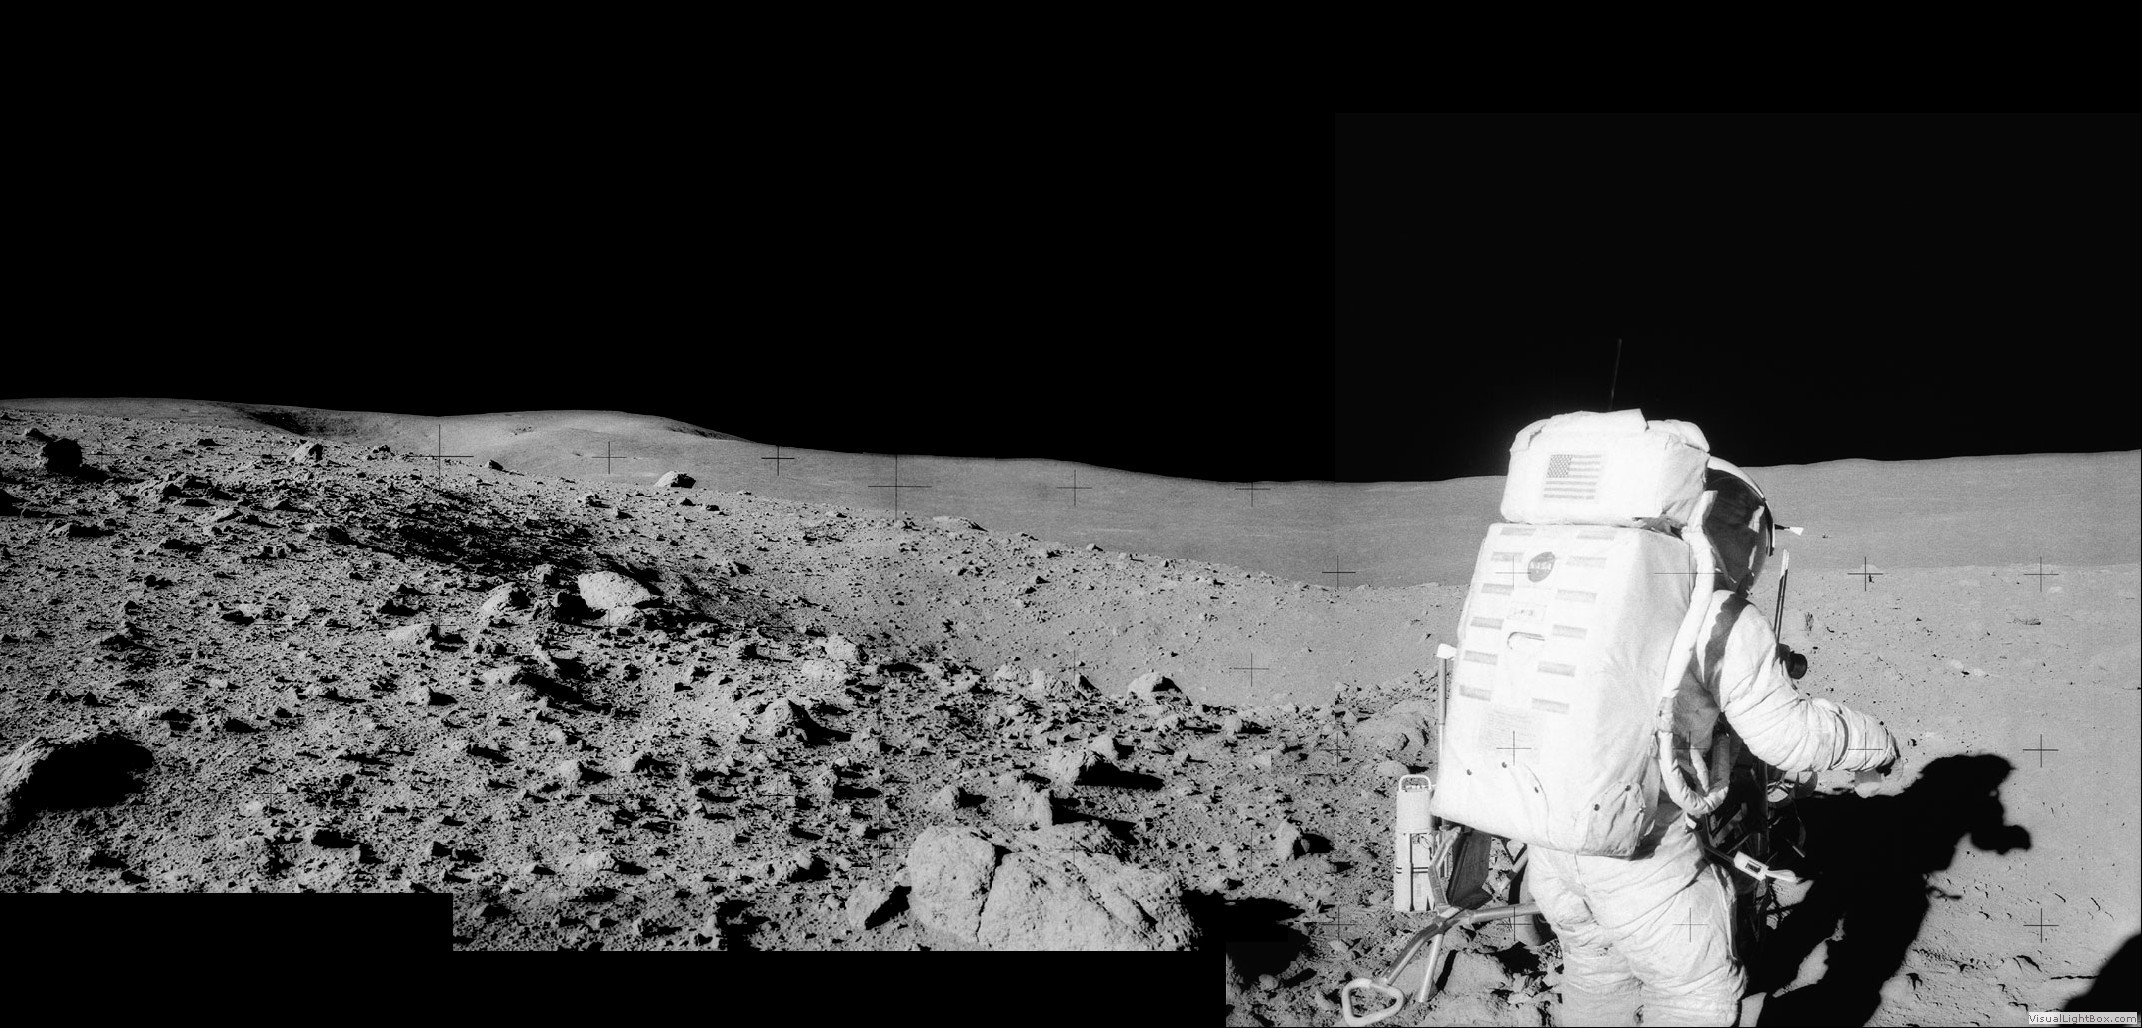
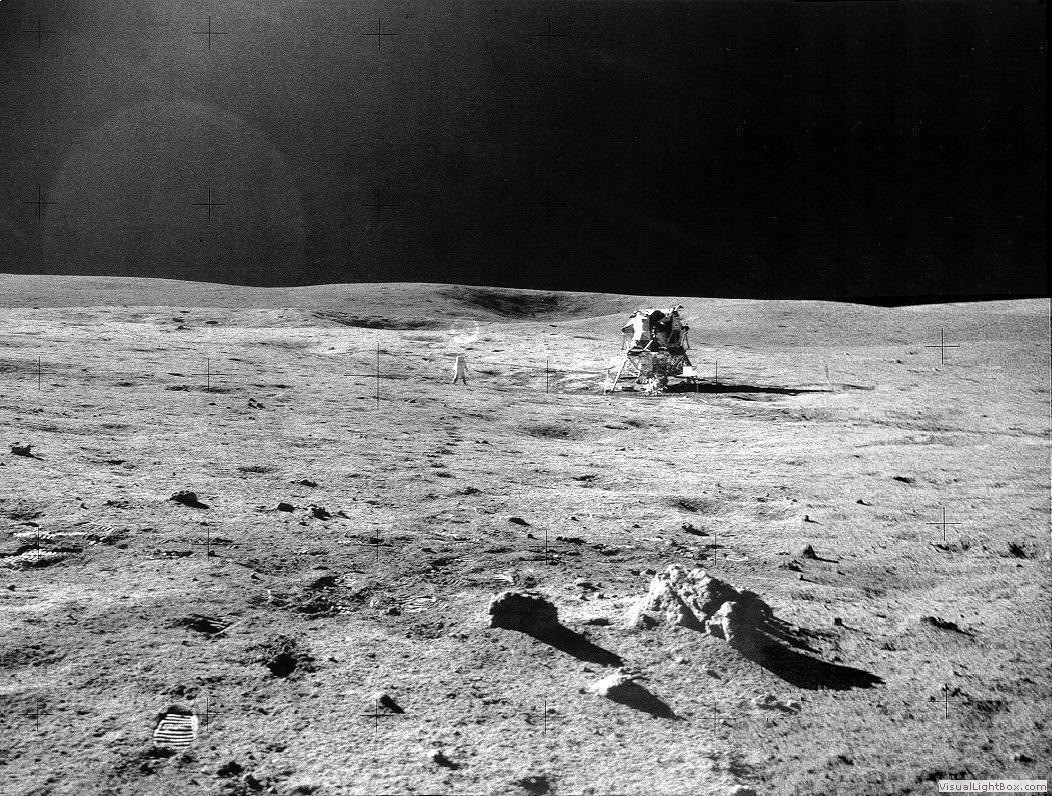
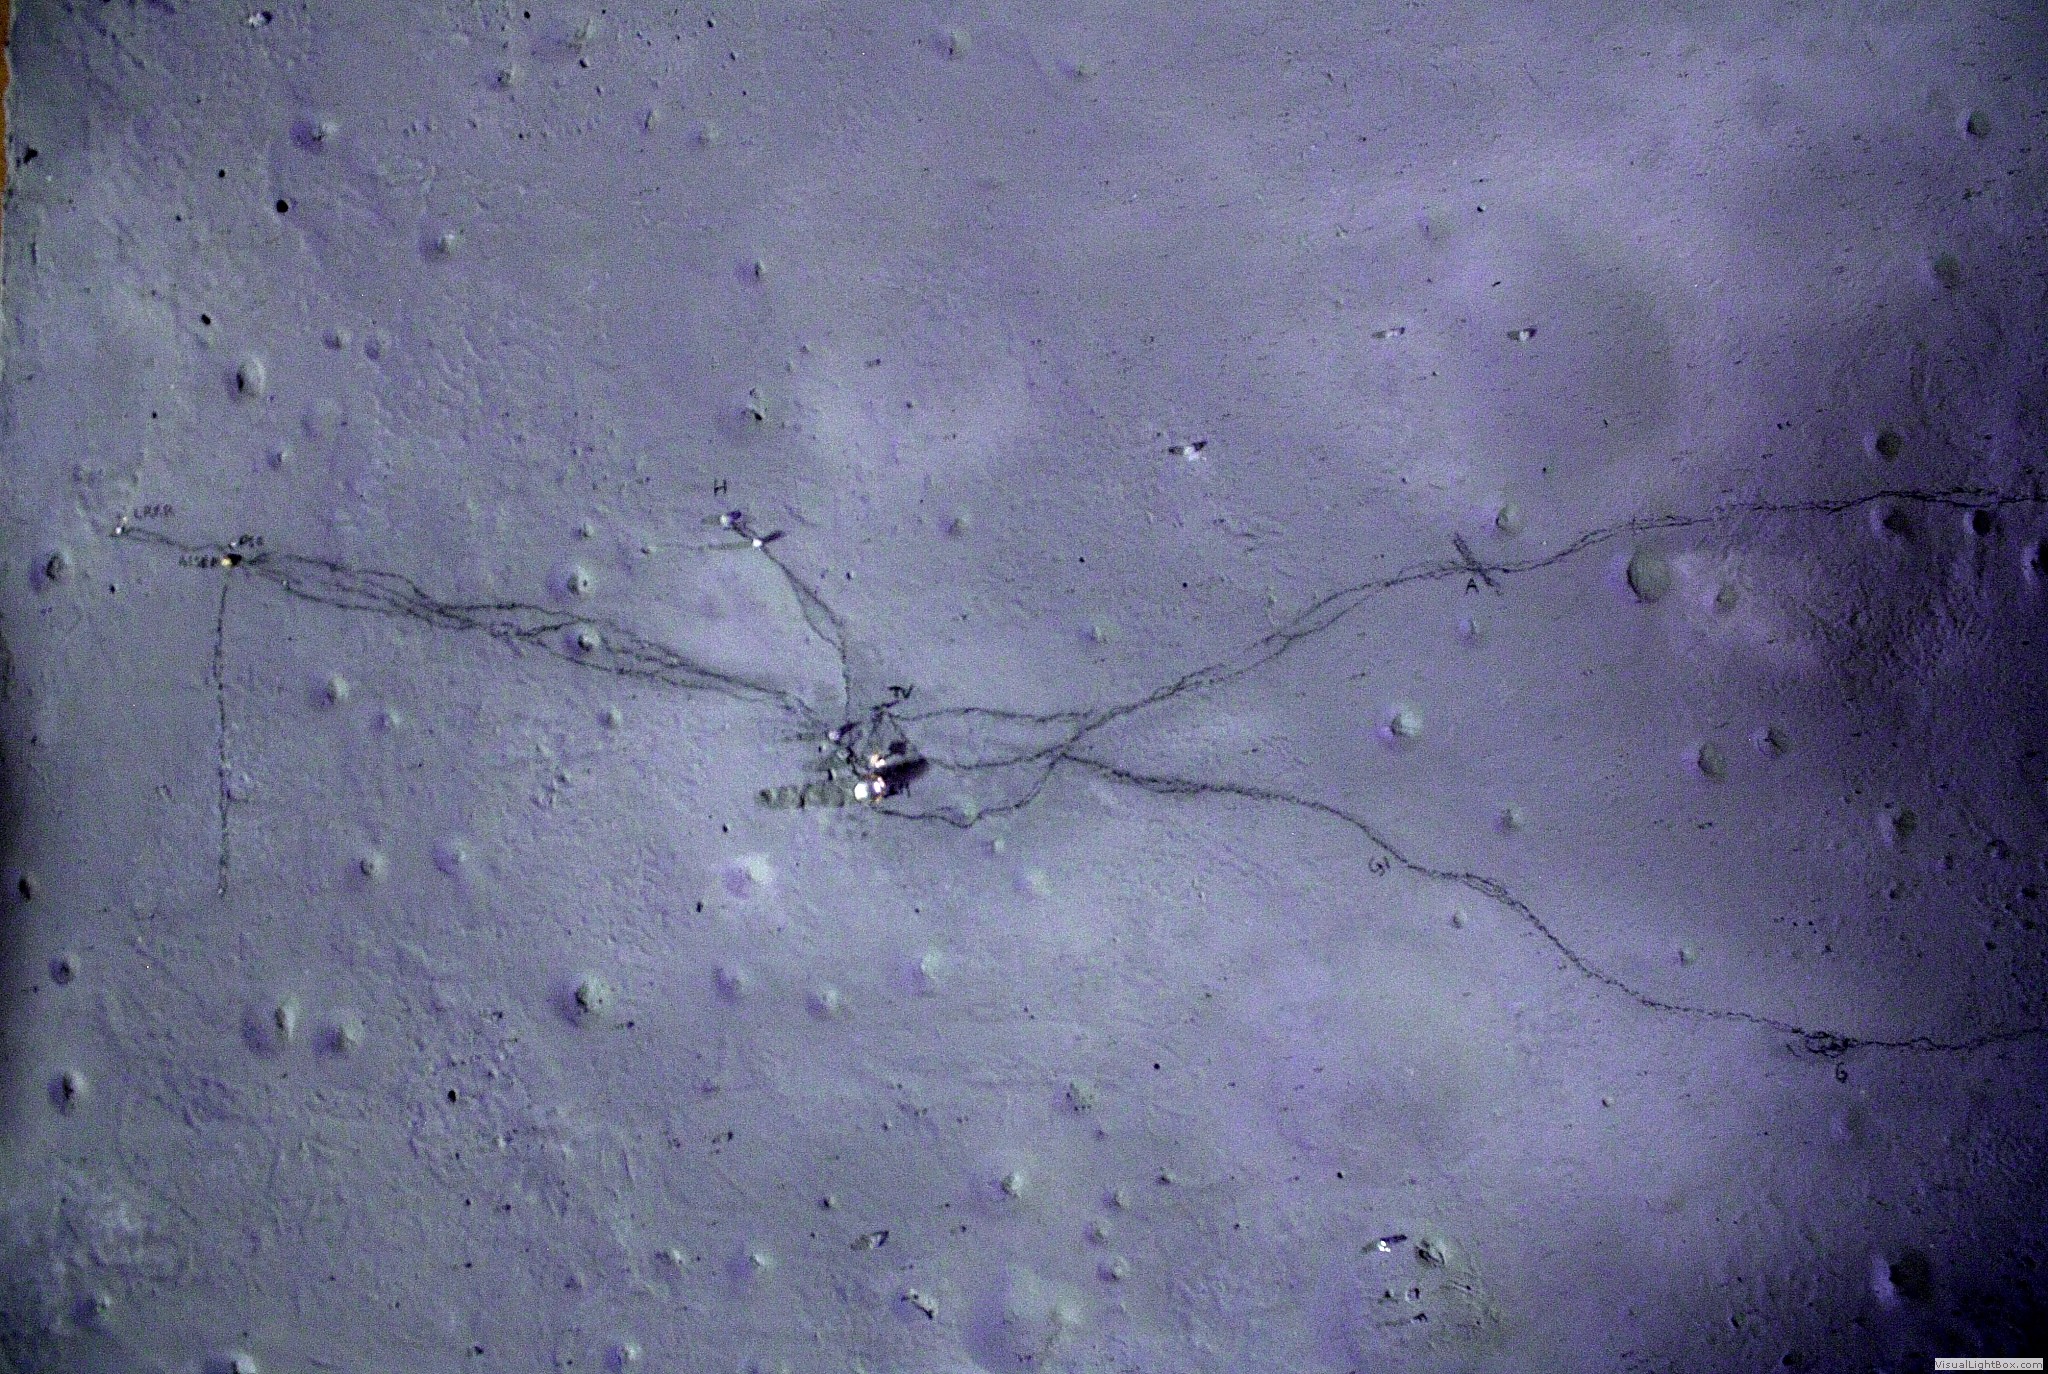 LM and ALSEP in the model with stations A, G, H. We see Mitchell walking back from Turtle Rock, and Shepard is standing by the LM!
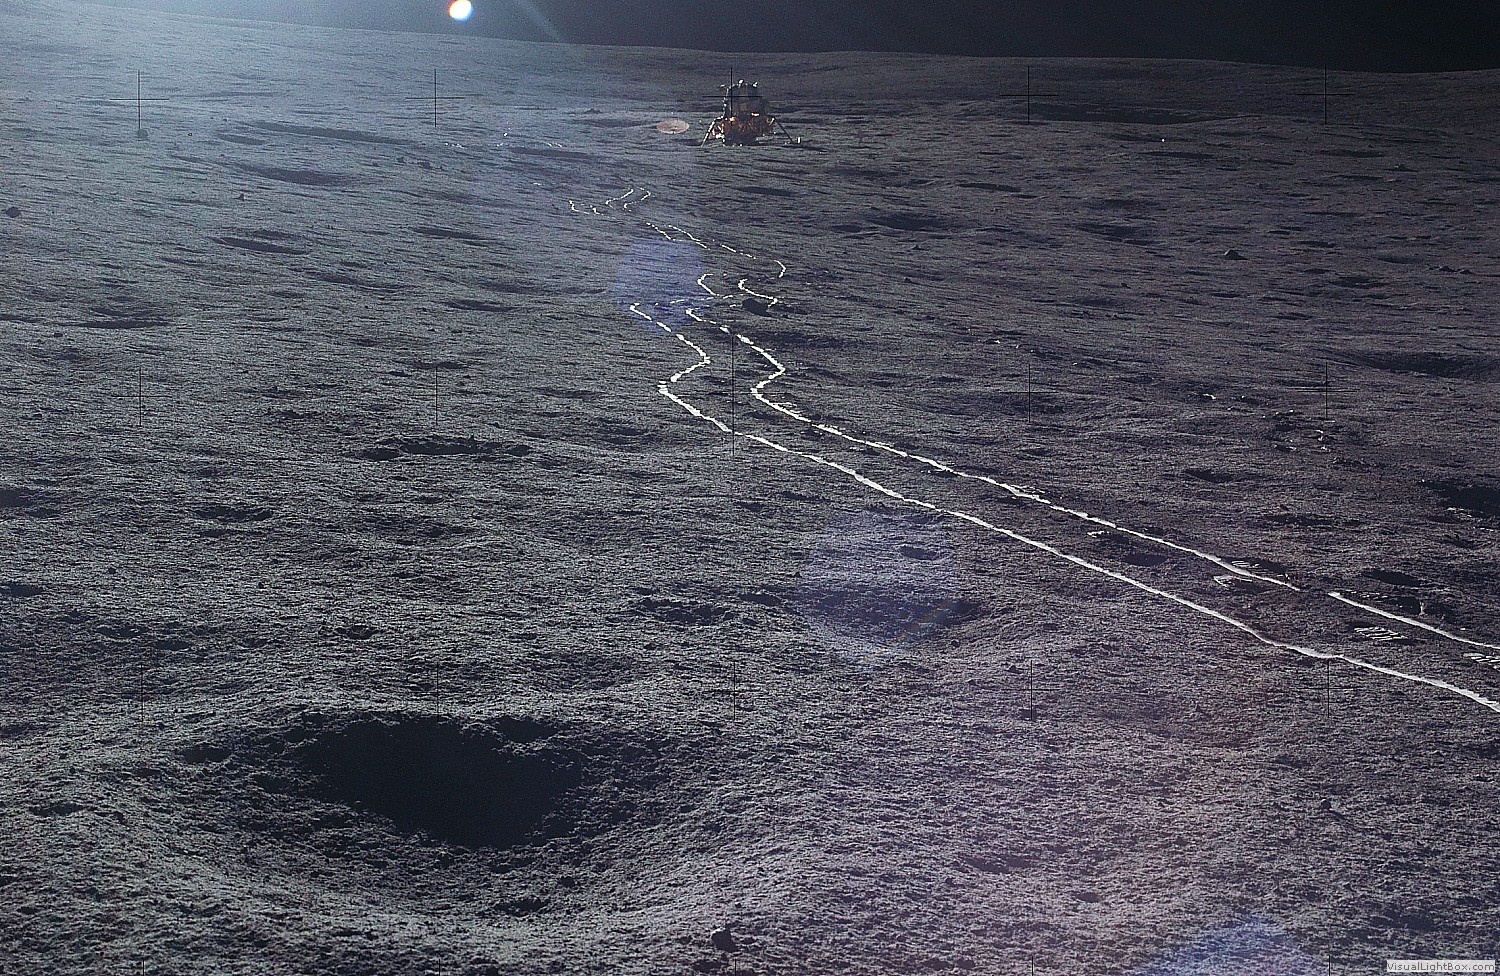 Tracks from the MET transporter out the ALSEP
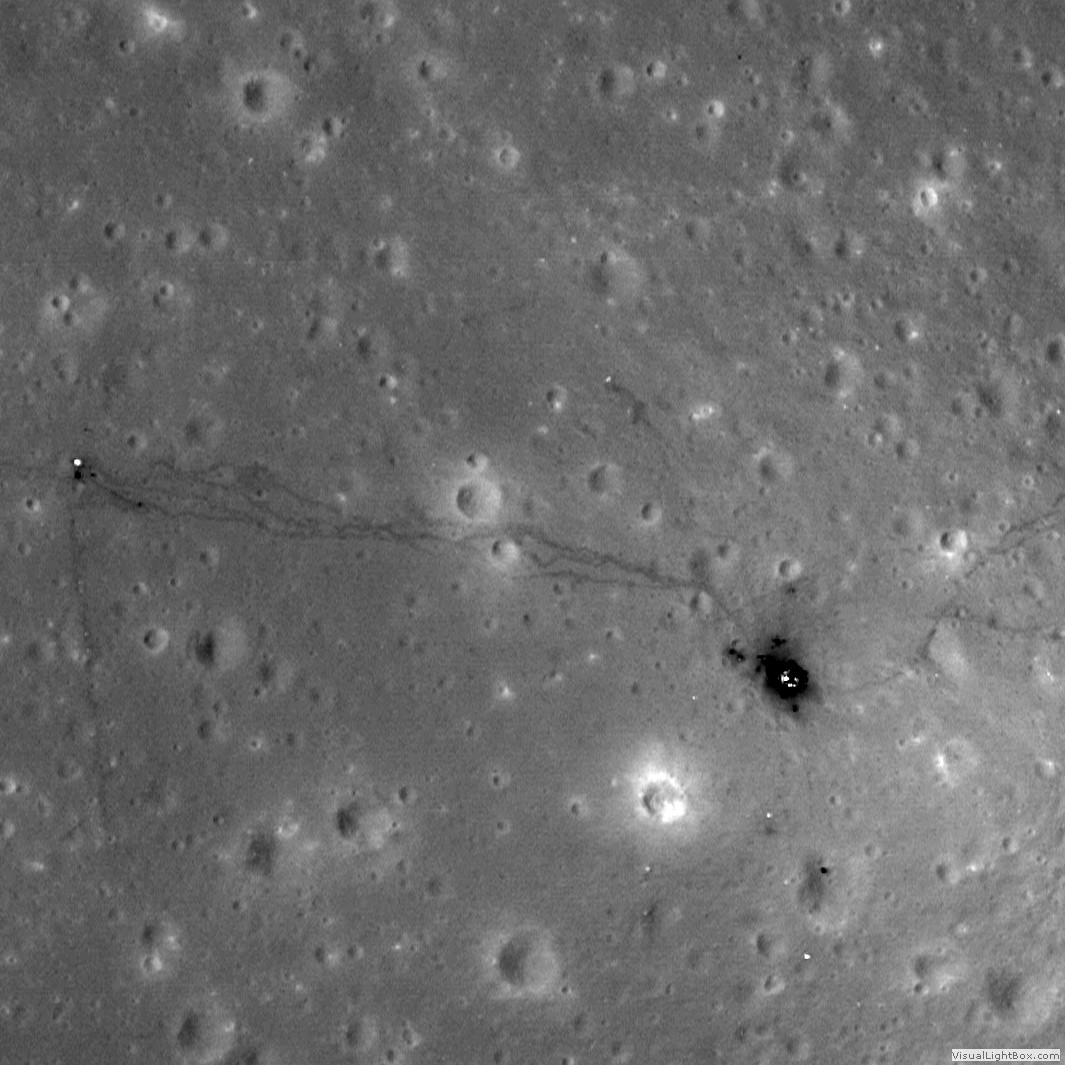 LM, trails, and ALSEP in LROC image
 From the laser refletor to the LM
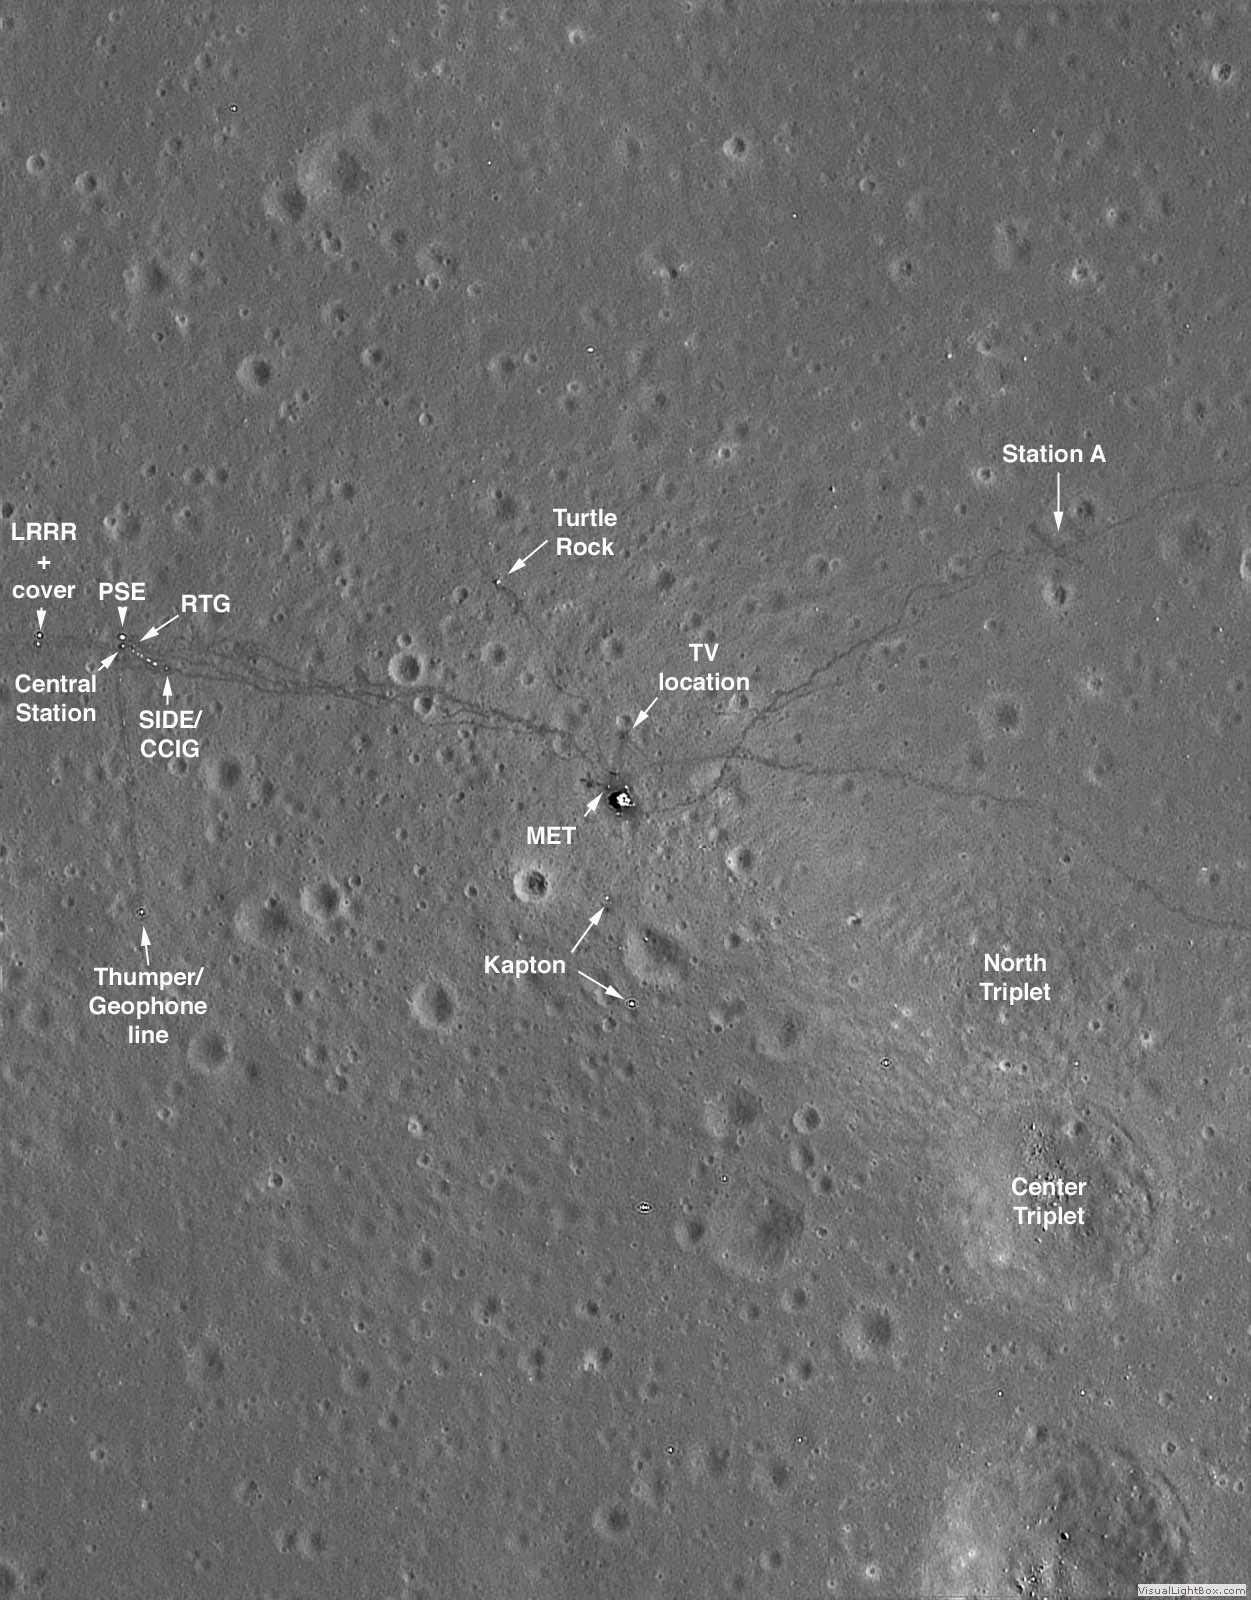 LROC, ALSEP instruments
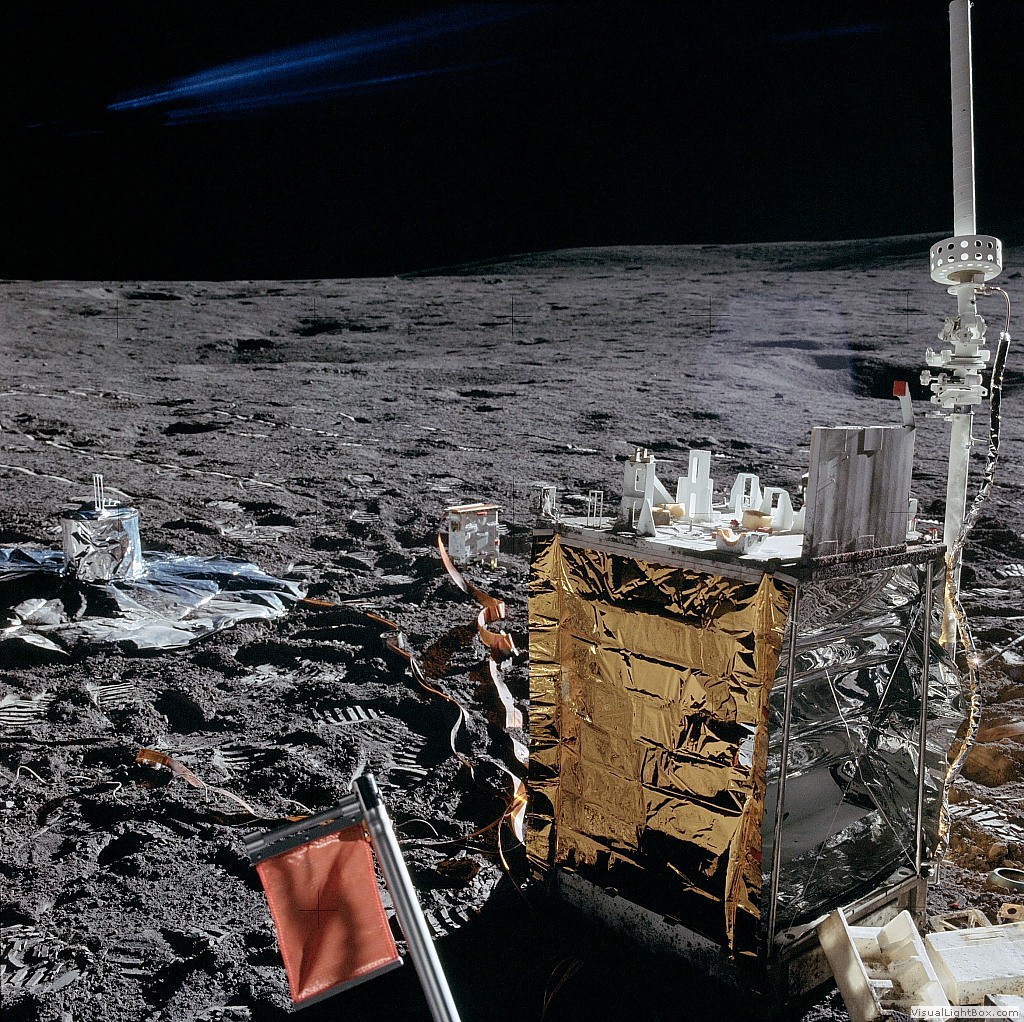 ALSEP Central Station
 ALSEP, LM and antenna by the LM, in the model
 A skewed LM
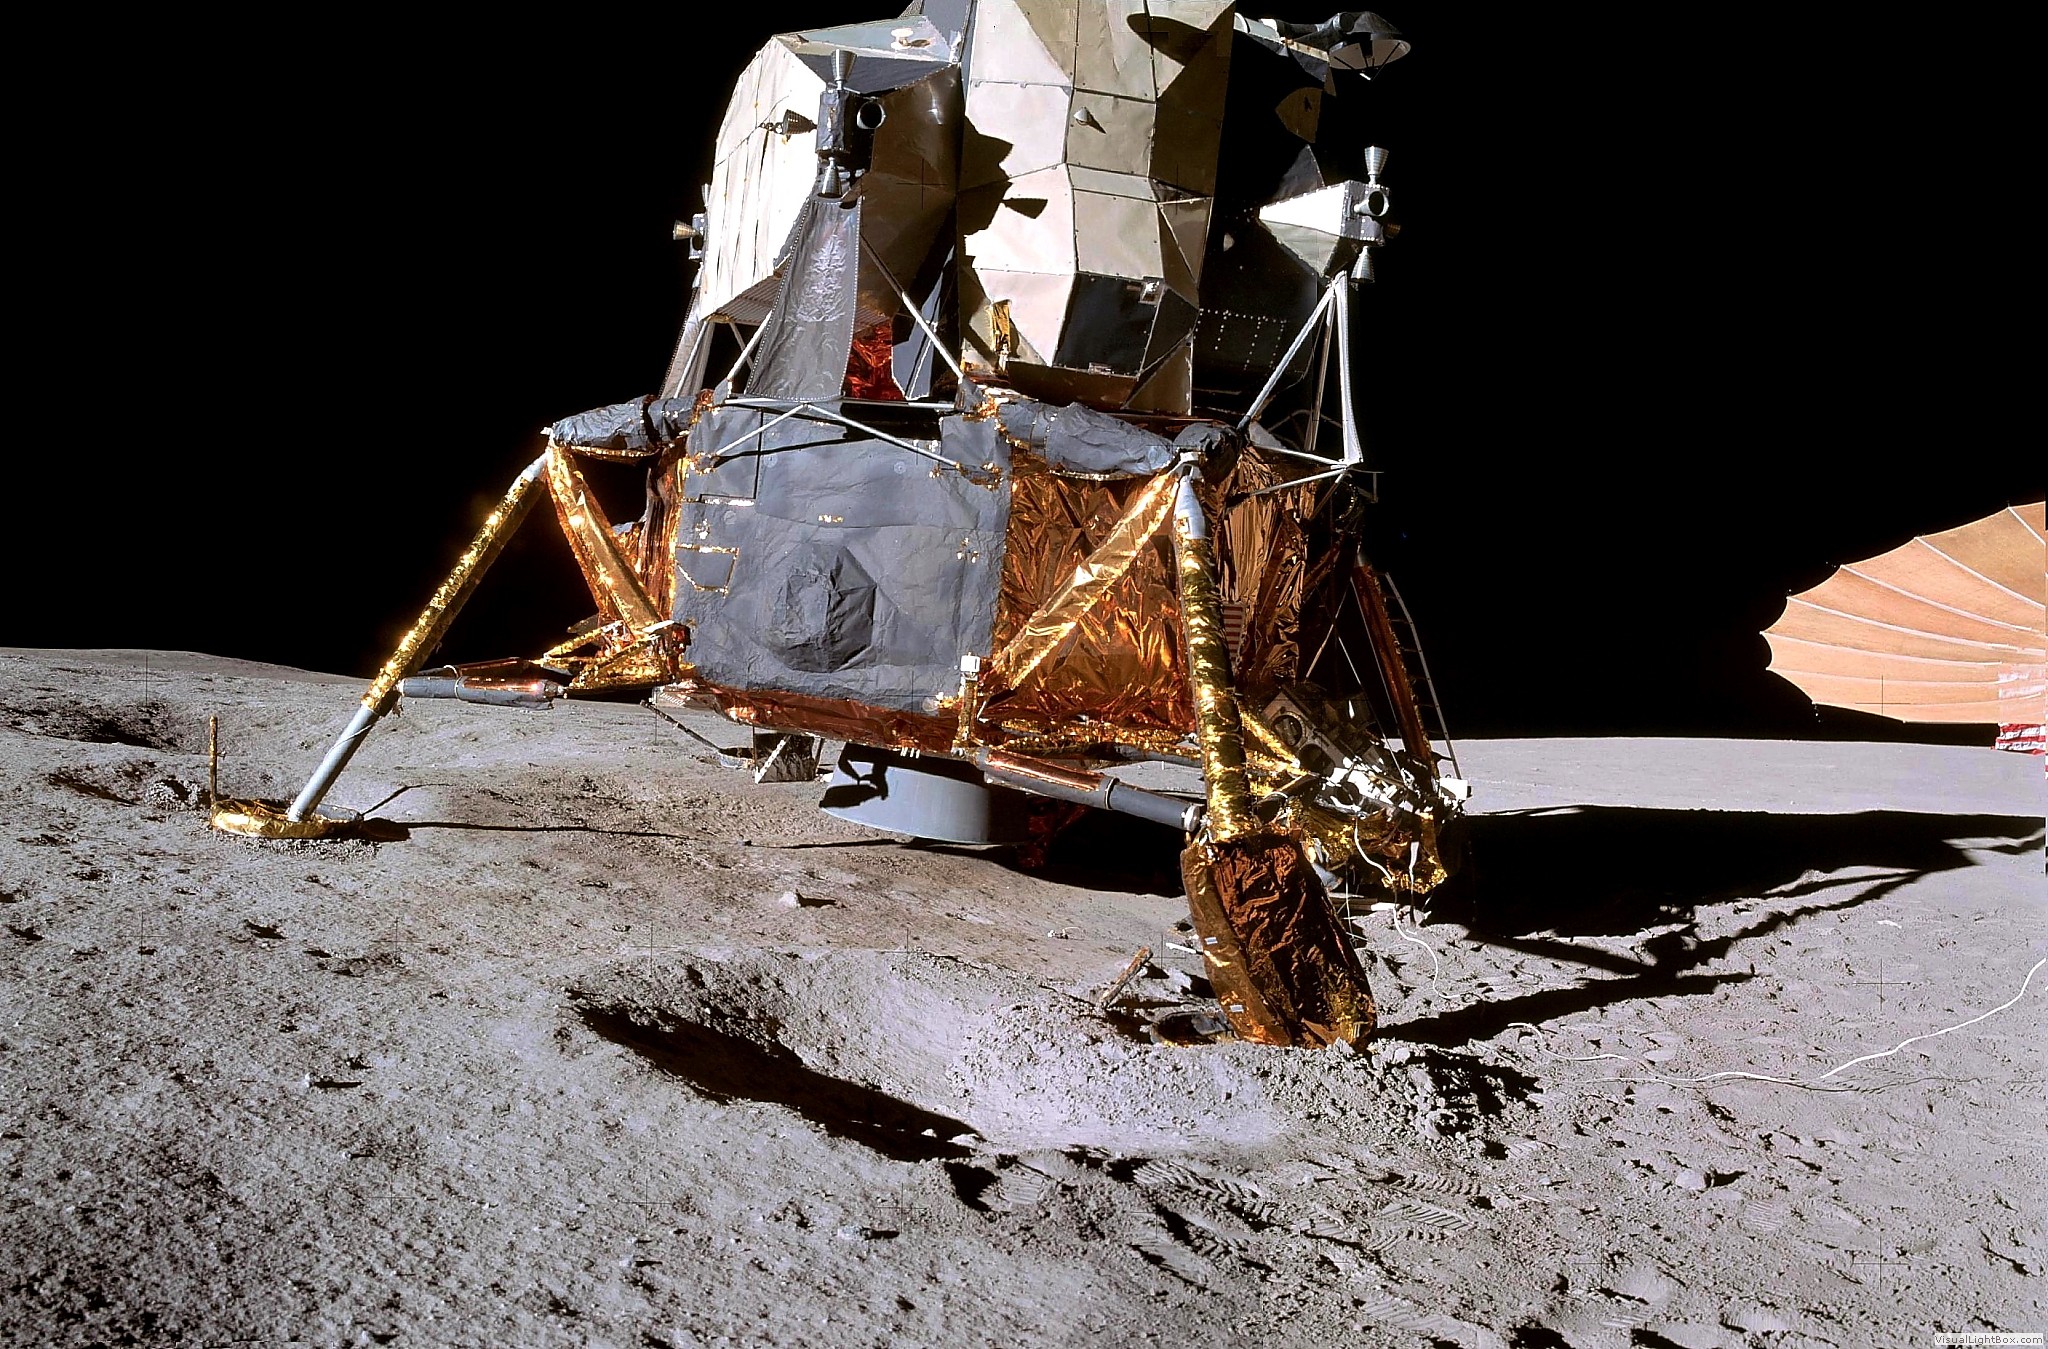
 Antares, with Cone Ridge in the background
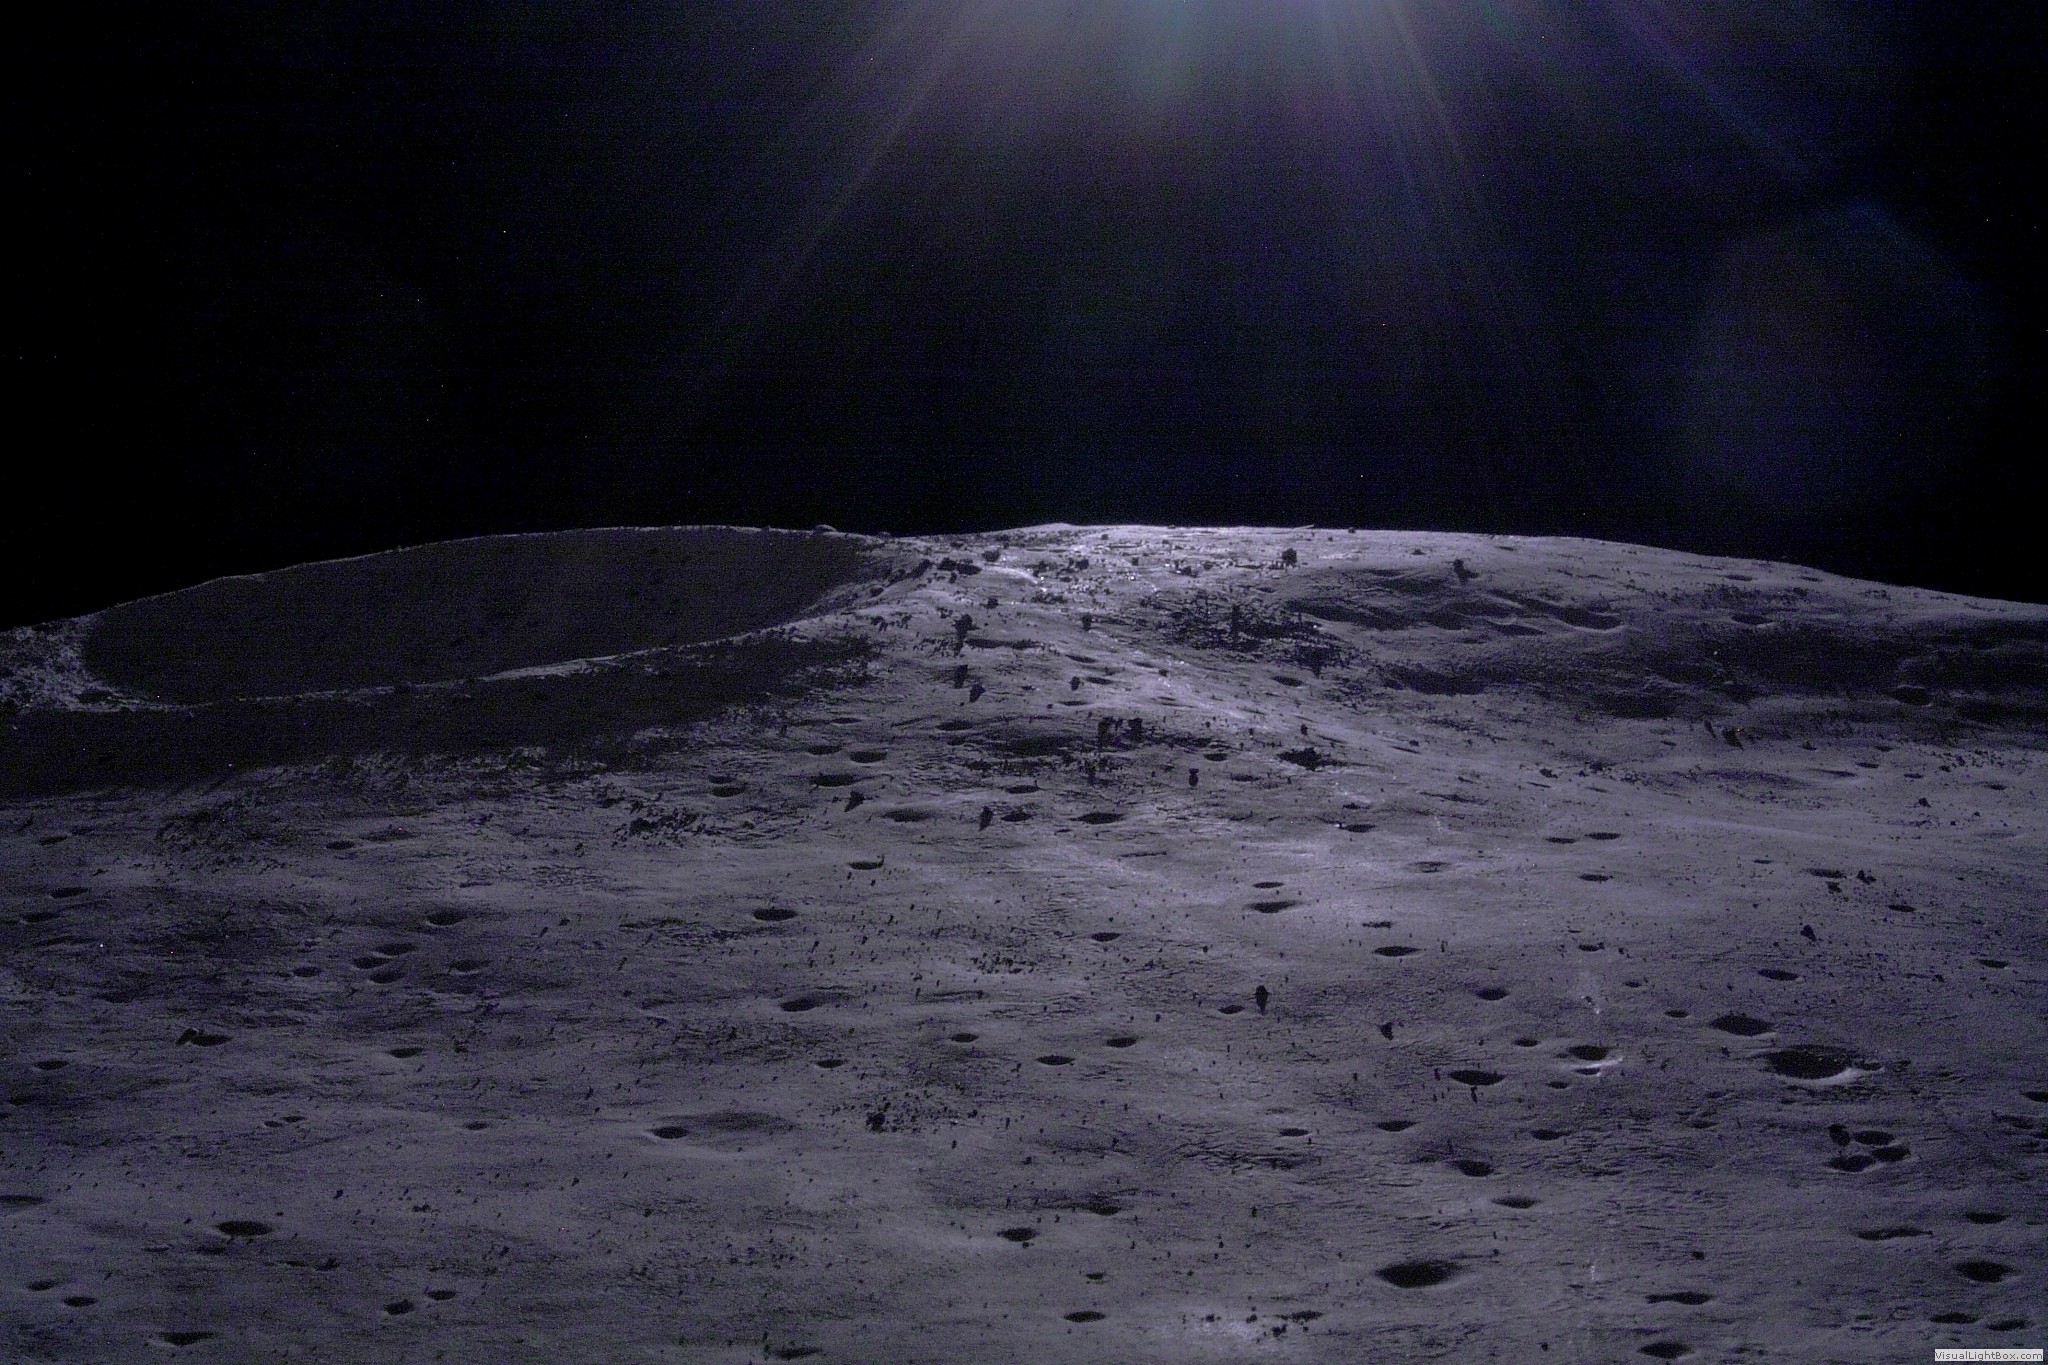 Cone Ridge in the model
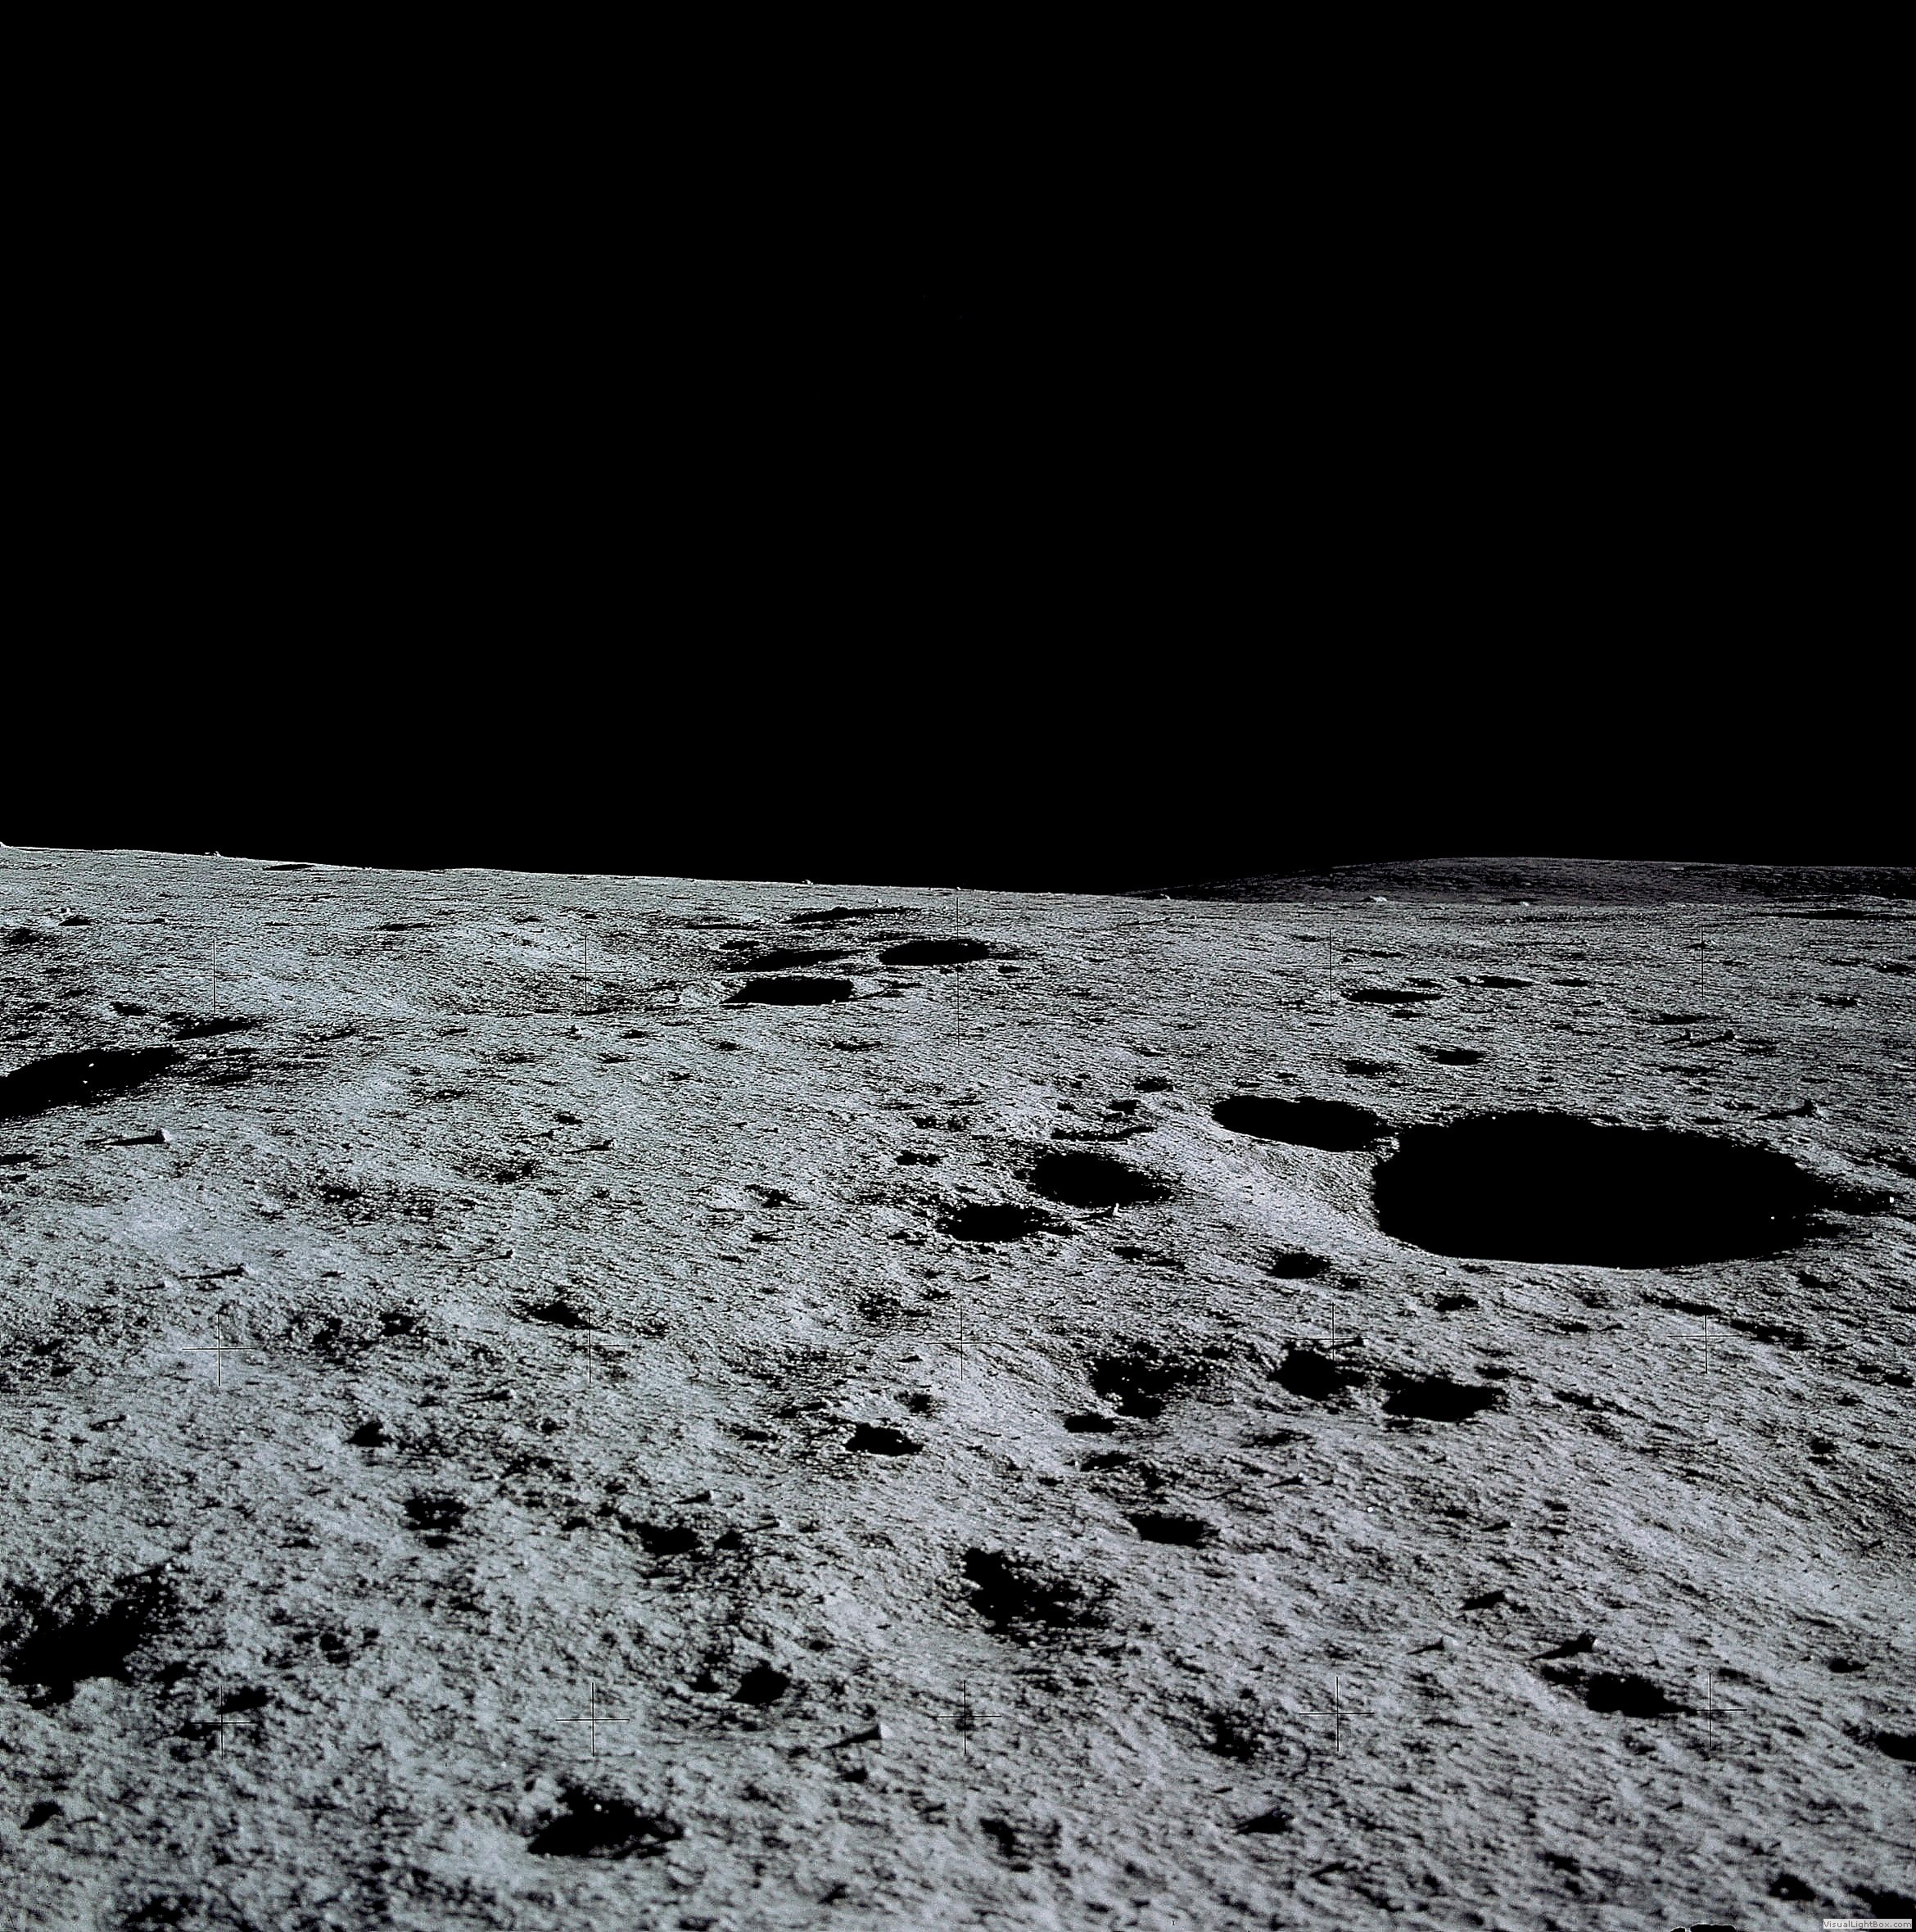 Cratered plains to the north east of
 the landing area
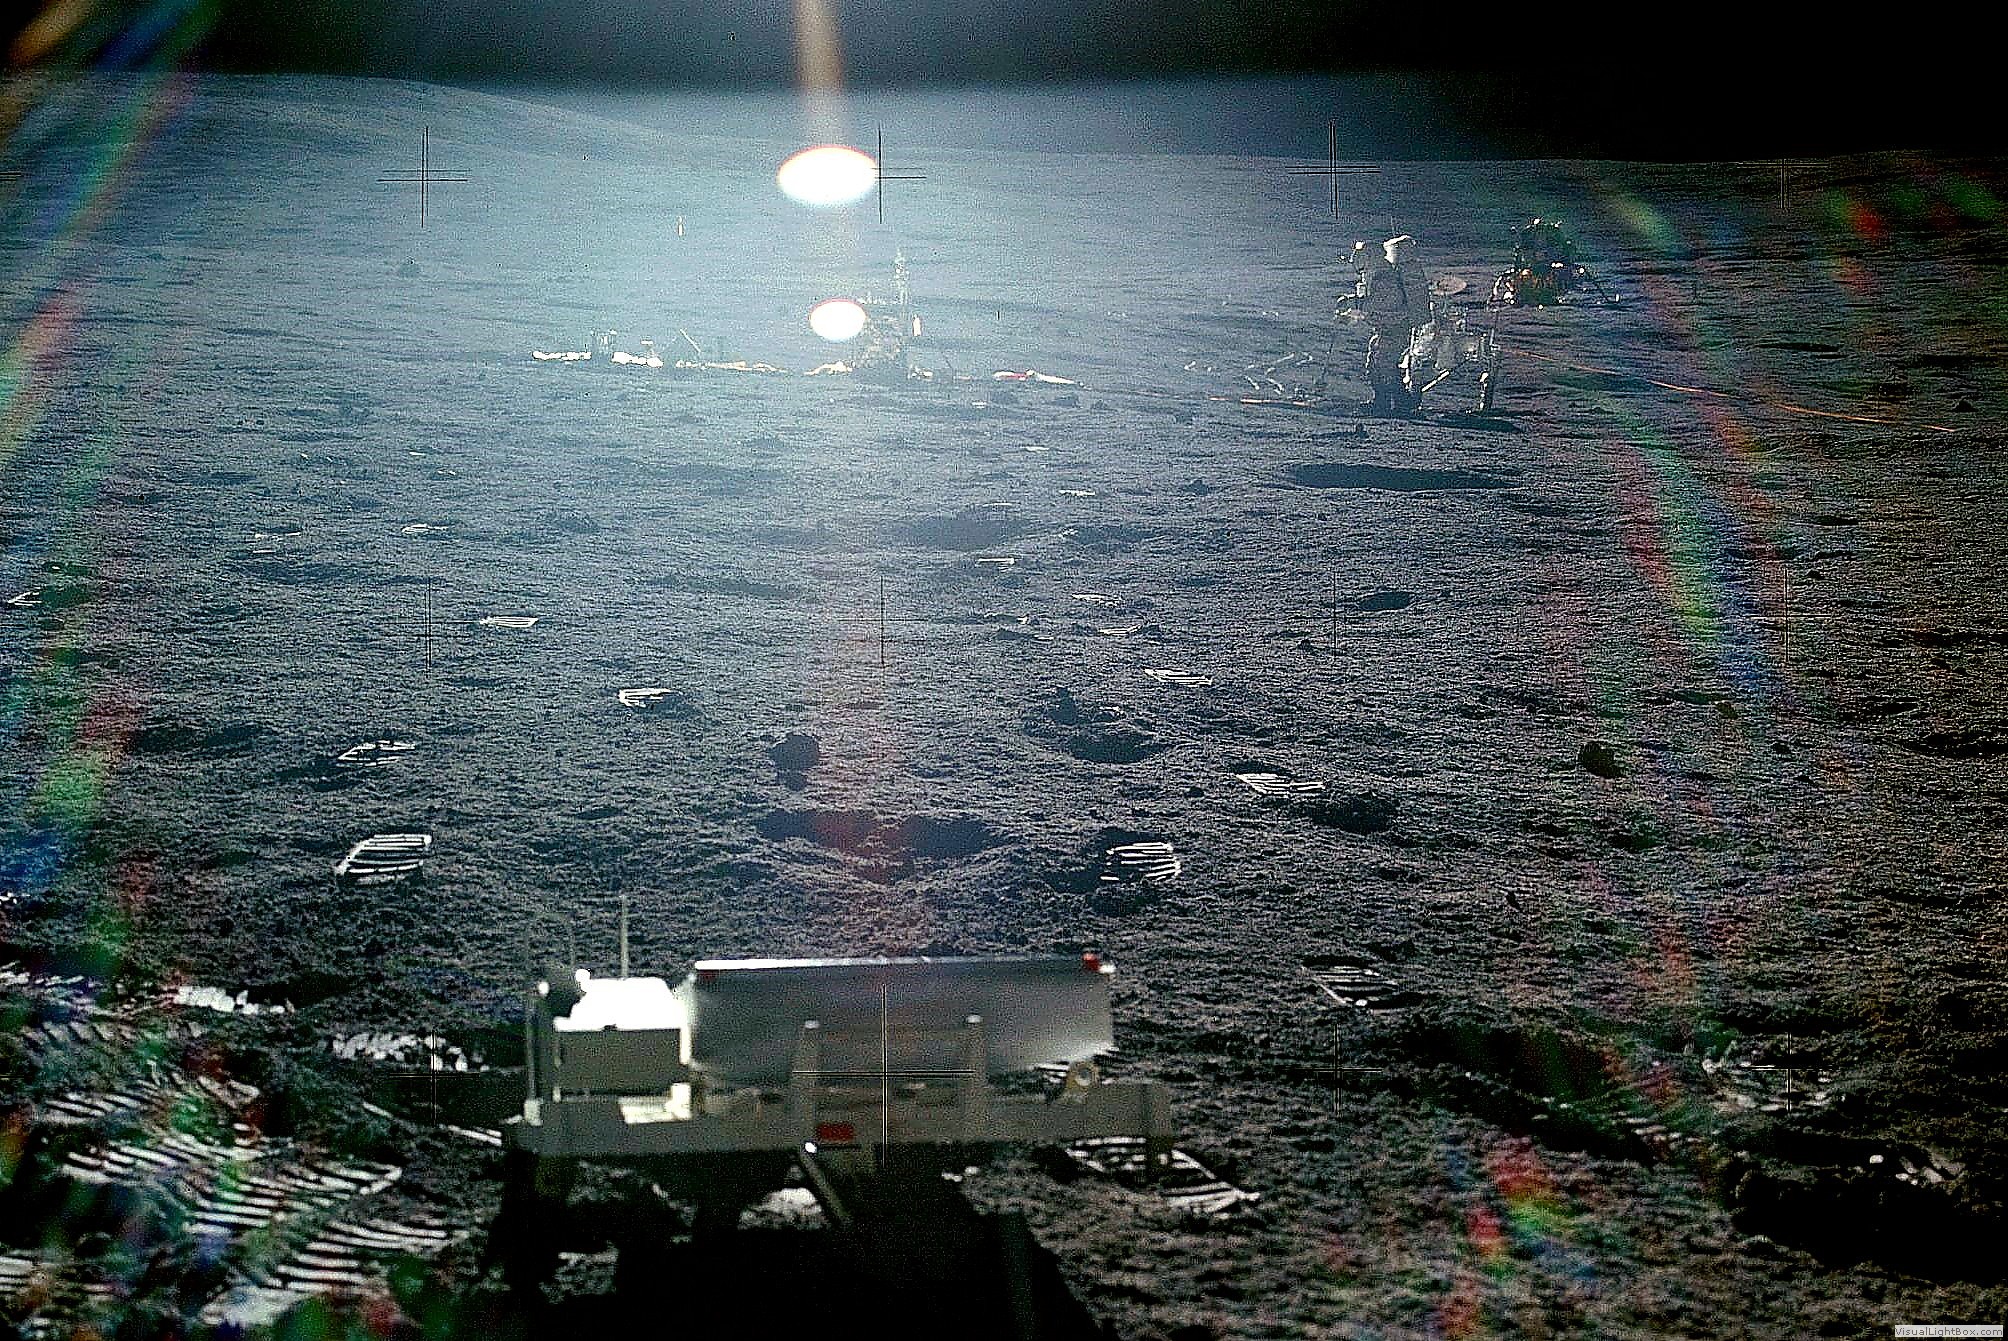
 Mitchell takes a photo of Shepard,
 from Turtle Rock, station H
 Full model again
 View from the east, sun from the west
 View from the west, sun from the east
 View from the west, sun from the east,
 low Sun
 Traverse mosaic in the modelOnline Photo Album Software by VisualLightBox.com v3.1